FLOWER ARRANGING MADE EASY
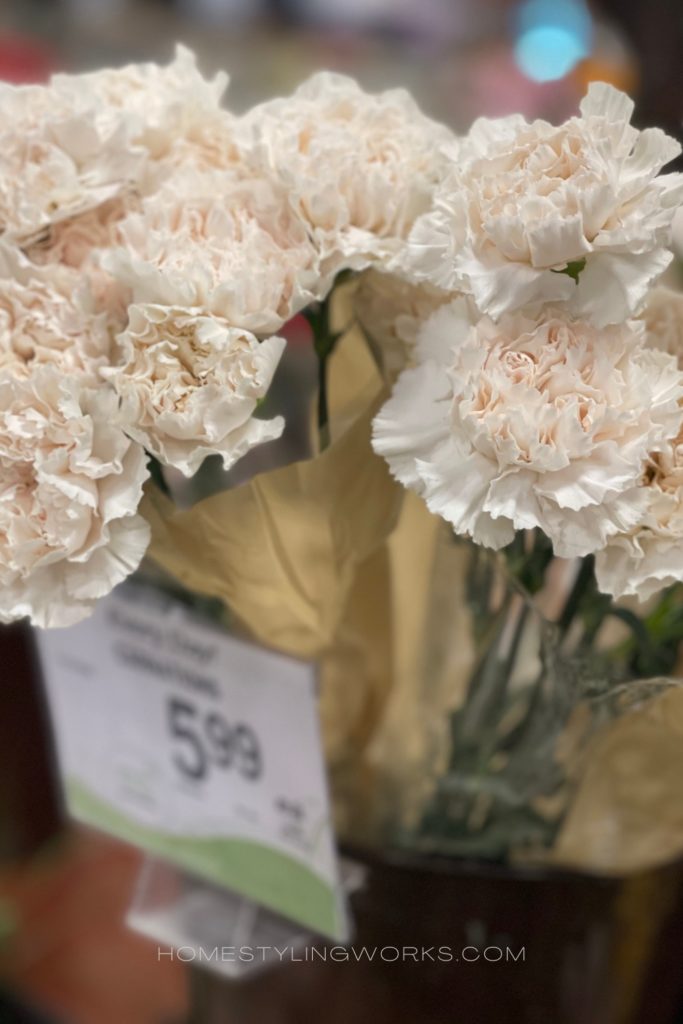
In my previous post, “Supermarket Flowers That Don’t Get Enough Love”, I showcased carnations in beautiful vases in various vignettes. Before publishing the post, I asked one of my good friends to preview it, and she loved all the ideas and the photos (thank you!). But she added that when she buys flowers, they never look quite as good as the flowers in my photos. She suggested I do a step-by-step tutorial with tips from my many years of styling with flowers on photo shoots. Great idea! So, in this follow-up post, I’m going to walk you through my steps for taking one bunch of $5.99 supermarket carnations (shown below at my local Albertson’s) and arranging them to look “magazine beautiful”.
FIRST THINGS FIRST
The first thing to do when you get the flowers home from the supermarket is to temporarily put them in water (the kitchen sink or a larger vase is fine). Also, no need to cut the stems yet – you just want to give them a little drink while you’re getting all your supplies in place.
SELECT YOUR VASE
At 6″ high, this modern vase (only $20!) is a perfect size to make a statement on a nightstand, a bookshelf, coffee table or side table. It comes in black, white and gold and it fits one bunch of carnations perfectly. This also makes a great gift filled with the beautiful carnation arrangement!

EVERYTHING IN PLACE (‘MIS EN PLACE’)
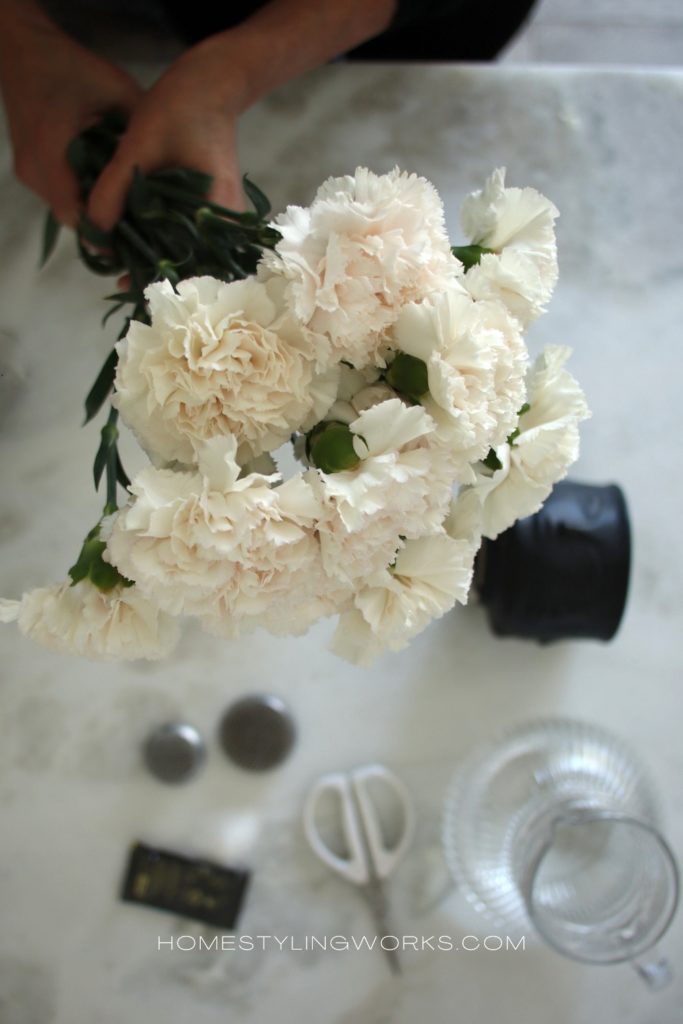
On a work surface, gather all your supplies: the flowers, vase, flower frogs (more on those later in the post), flower scissors (these are my favorite), flower food packet, and a pitcher of water.

MEASURE TWICE, CUT ONCE
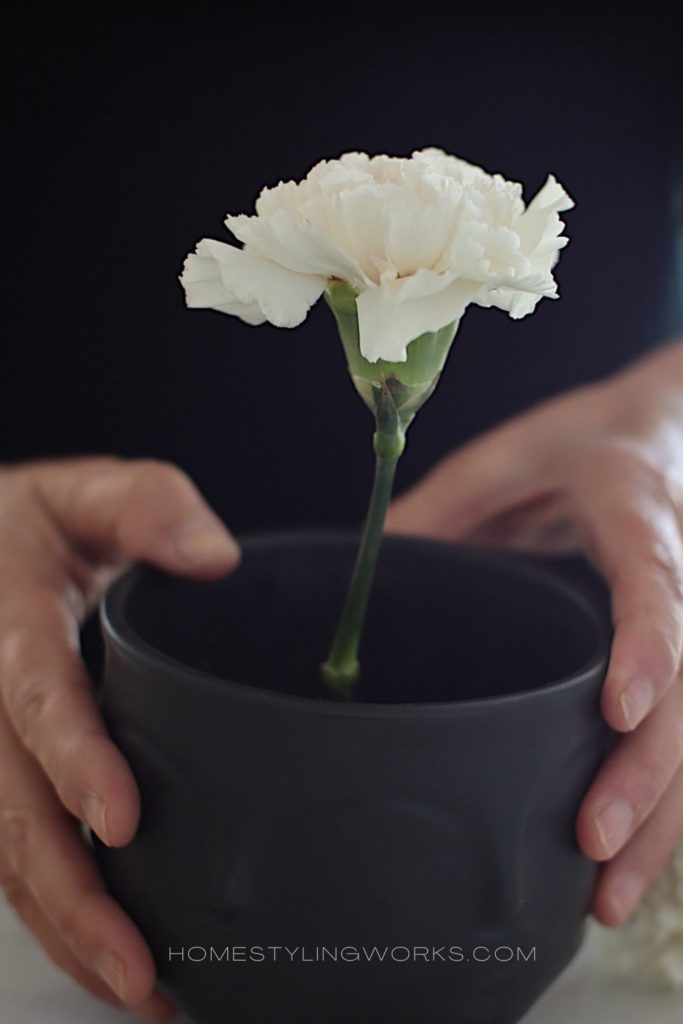
The secret to making a natural arrangement is to “measure” where you want to cut the carnation stems by placing it alongside the vase, shown below. This is your starting point.
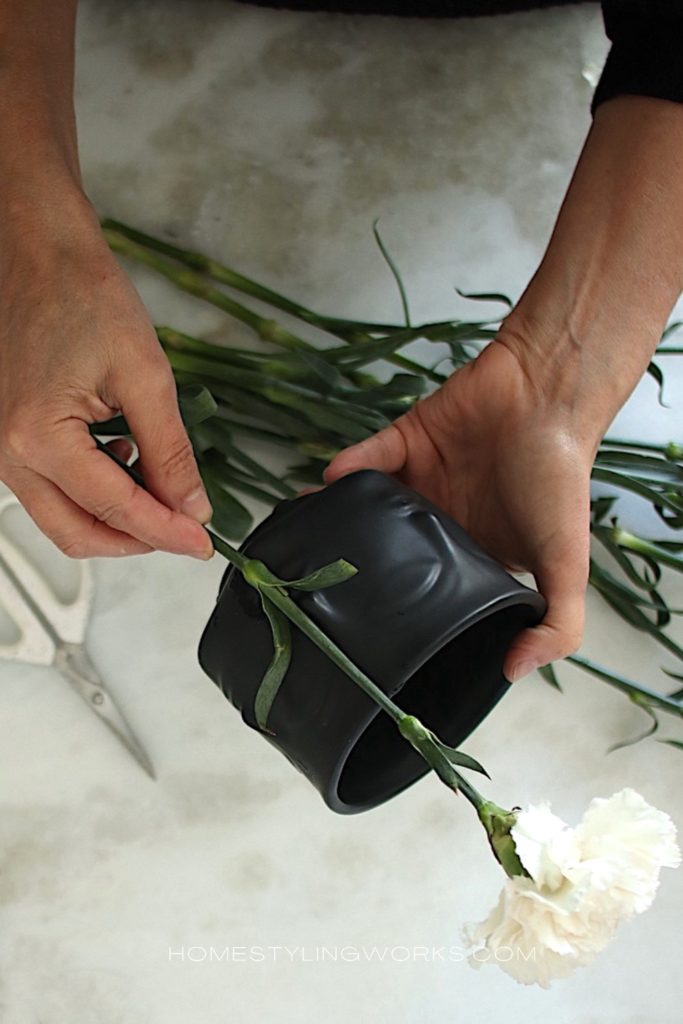
It’s better to cut your stems a little too long and make adjustments, than to cut off too much stem right off the bat. The guideline is to make the stem part that is going into the vase the same length as the stem and flower that are sticking out of the vase. You can see in the image above that the stem and flower where you want to cut are double the size of the vase.
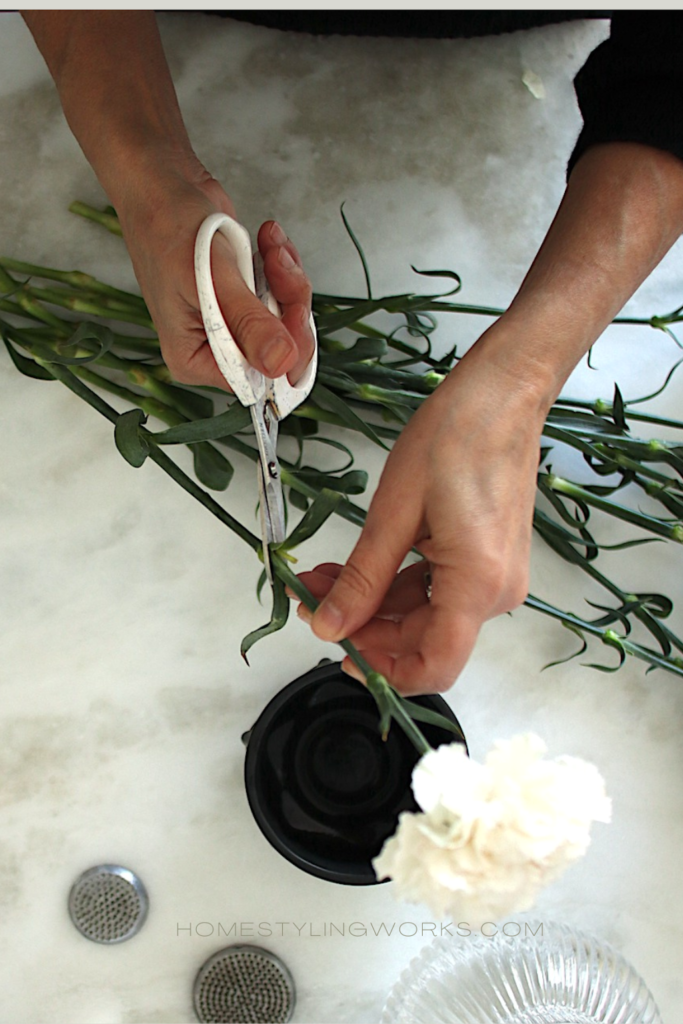
After you have the “benchmark measurement”, individually cut all the stems the same length (at first). Also, it is important to cut the stems at a 45-degree angle (to create more surface to allow water into the flower). Next, remove the lower leaves, which can contaminate the water with bacteria (the mere mention of bacteria should make you want to do this).
MEET MY LITTLE FRIEND, THE FLOWER FROG

If you’re not familiar with flower frogs, just know that this little doo-dad is a professional stylist’s secret to making flowers not flop all over the place (or fall out of the vase). Why are they called flower frogs? Rumor has is that it’s because they “sit in water”… like frogs. I recommend buying a set of three flower frogs, since you’ll find yourself using these in many of your flower arrangements. If you want to give a special gift to a flower-loving friend, these are the ones I have.
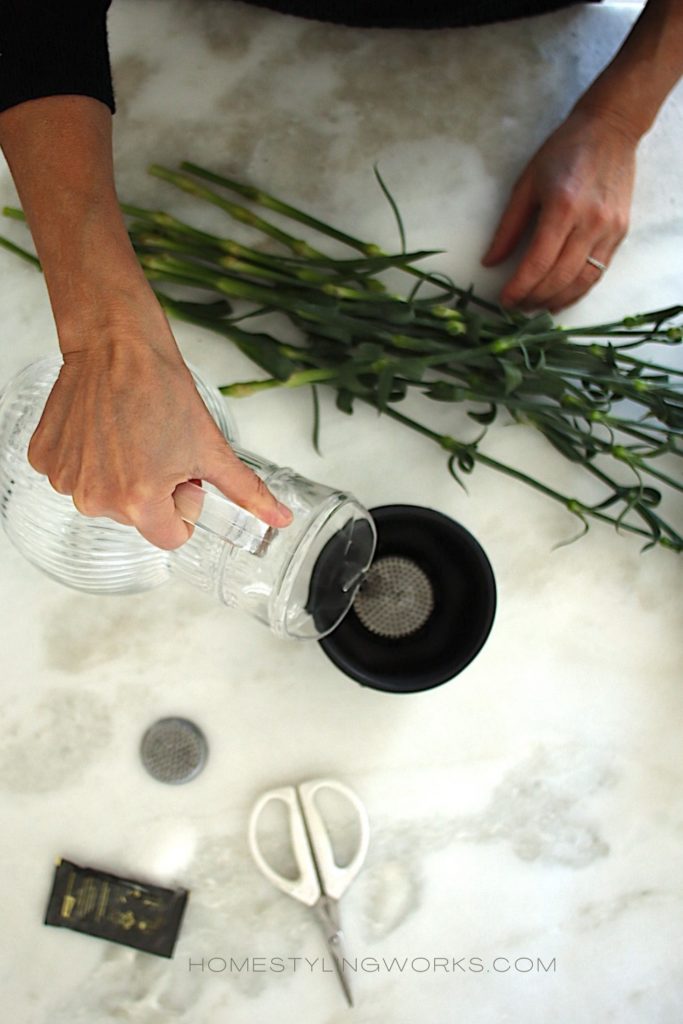
How do they work? You simply place the flower frog in the bottom of the vase and fill the vase 3/4 of the way up with water (shown below). Add half the packet of flower food and save the rest for the water change in a couple of days.
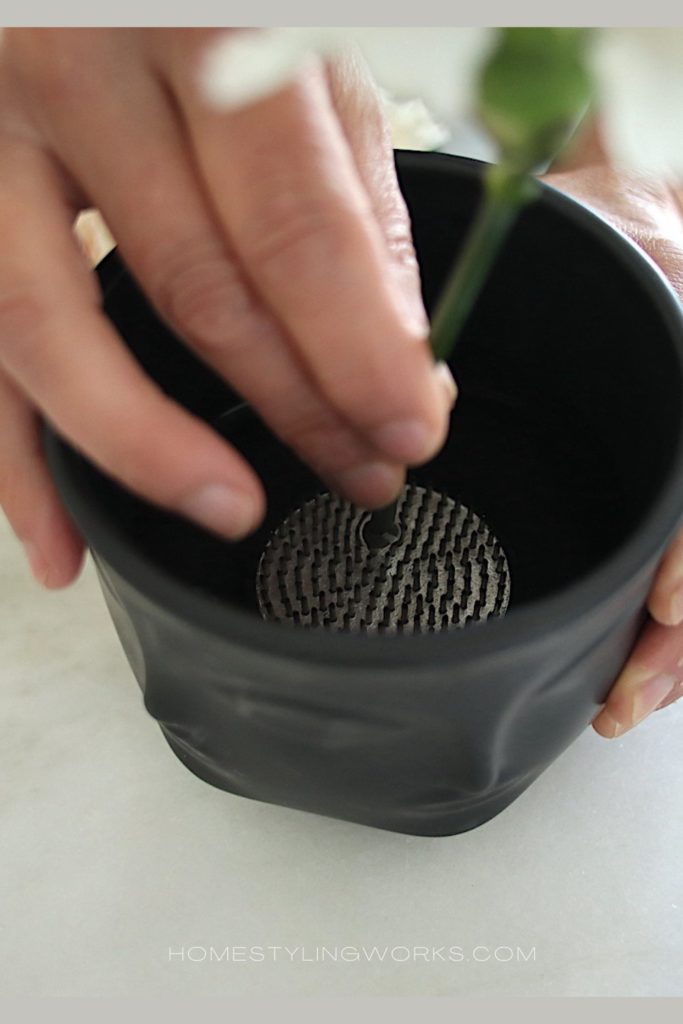
Here’s how the flower frog works: the spikes protruding from the base keep the flowers in place. It’s that simple.
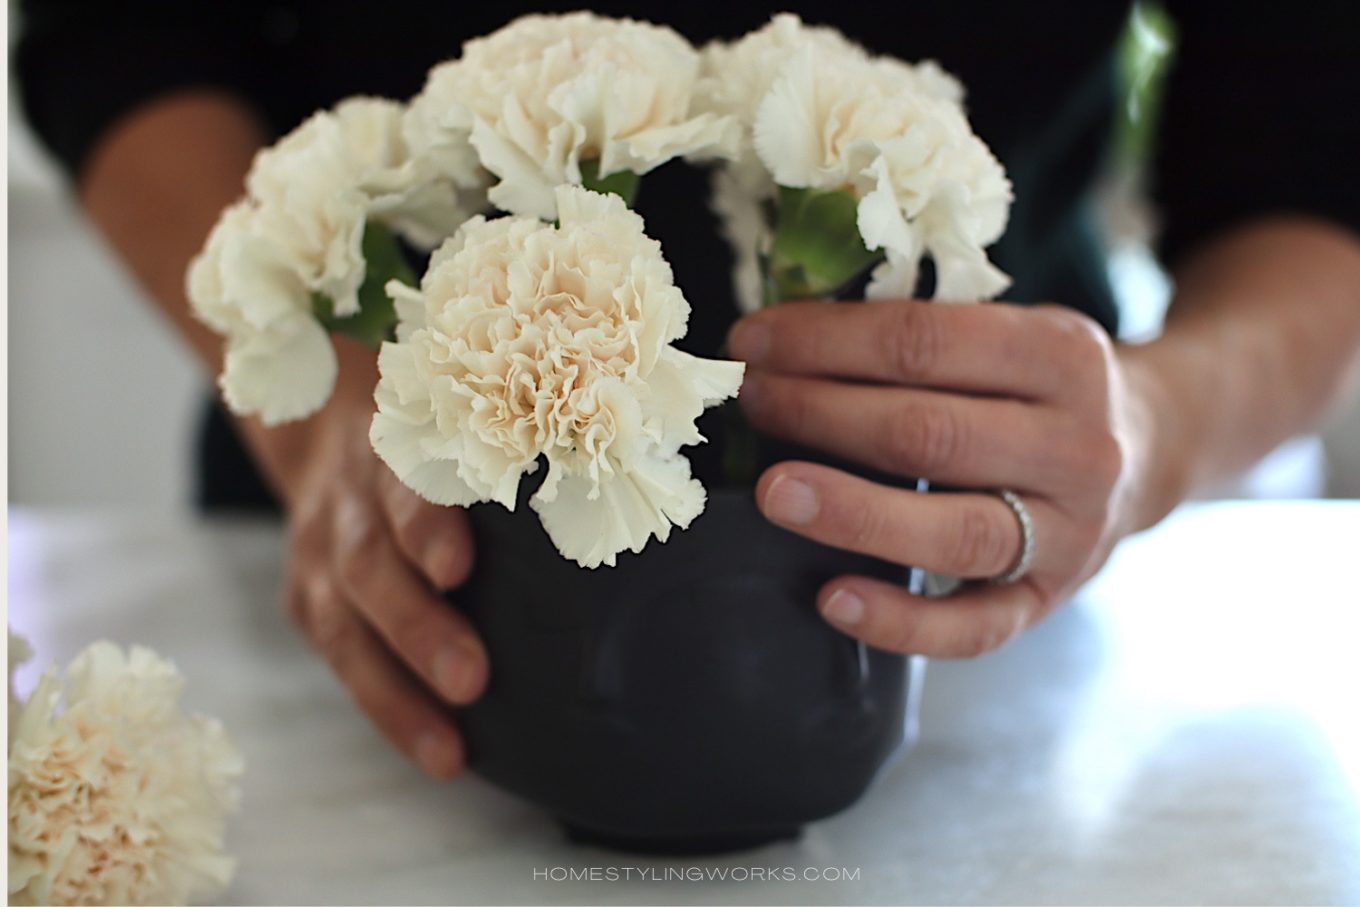
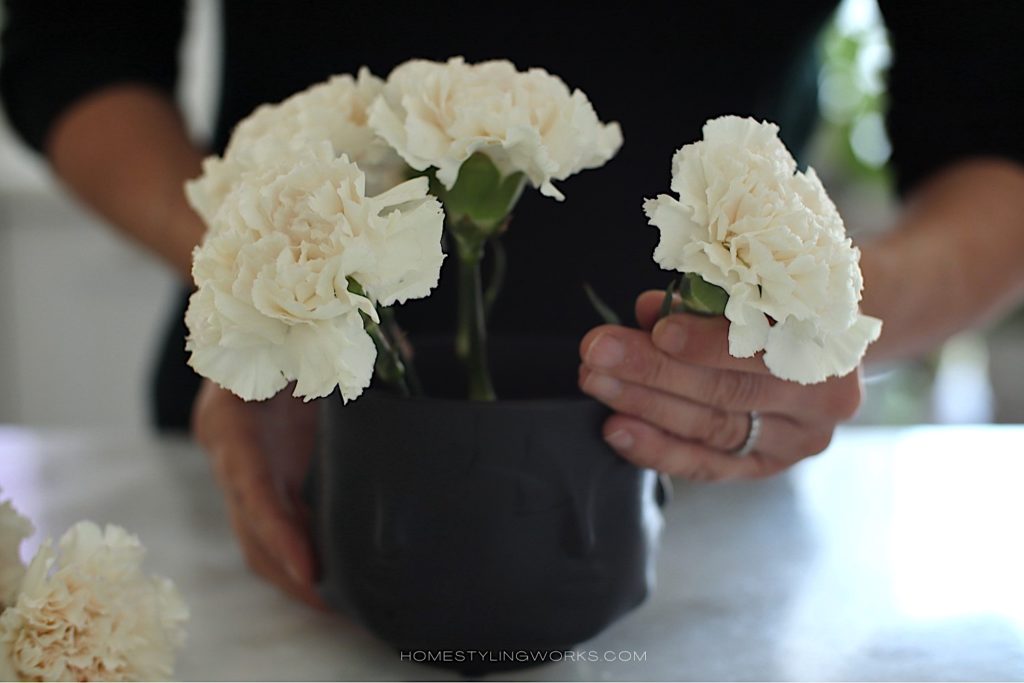
To start arranging the carnations, insert a cut carnation stem in the center of the flower frog. It should stand up on its own like the image on the right – that will give your arrangement structure in going forward.
Use the flower frog circle as your guideline, and add individual stems, radiating outward from the center stem. Rotate the vase as you’re doing this, to make sure you’re creating a strong center statement. You’ll also want to angle the side flowers a bit. This will take about 5-6 carnation stems (see image below).
THE SECOND CUT
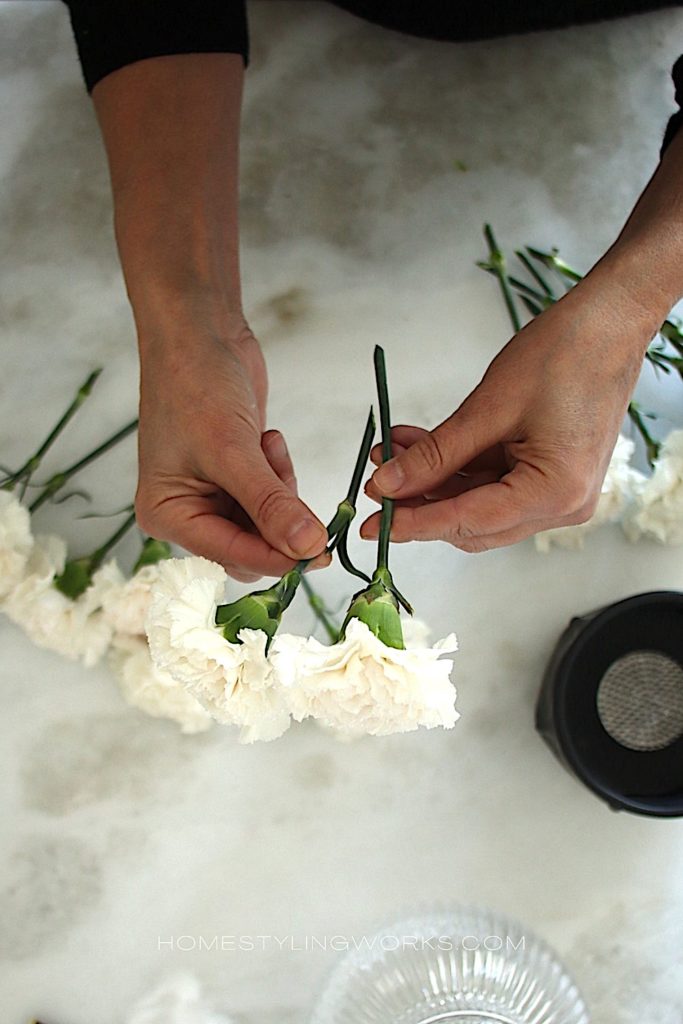
Remember how we made that first cut on all the stems? The next step is to take the remaining stems and cut them about 1″ shorter than the first stems (use one of the already-cut stems as your guideline). These 1″-shorter stems will be used in the rest of the arrangement. The second cut is key, so that the arrangement is graduated. If you cut the stems all the same length, you would have a gap around the perimeter of the vase. You don’t want this.
Here’s what the two cuts look like, side by side:
Next, insert more of the shorter stems radiating outward from the existing flowers. Rotate the vase as you insert each stem, so the arrangement is even on all sides.
An important thing to keep in mind is you may need to make minor adjustments to the cut as you’re completing the arrangement. The shorter stems around the perimeter of the vase probably won’t reach the flower frog, but that’s okay. You want to tuck in the final few stems in between other stems, which will secure them. At this point, it will probably be intuitive to you (that’s great!)


THE BIG FINISH
I love how these $6 carnations look like gorgeous (expensive) peonies!

TAKEAWAY TIPS
TIP #1: Give the flowers a quick drink when they get home. Remember, they’ve been in the car out of water!
TIP #2: Invest in a few flower frogs and a flower scissors to make flower arranging easier. And store them together, so you’re not rummaging around when you bring flowers home from the supermarket.
TIP #3: Start a little vase collection and display them, if you can. If you see them, you’ll remember to use them!
TIP #4: Don’t forget to change the water every 2-3 days. Flowers are like people – you don’t want to sit in three-day-old bath water, do you? Well, neither do they!
TIP #5: You don’t need to re-create the whole arrangement (or re-cut the stems) when changing out the water in a carnation arrangement. Just carefully hold the flower arrangement over the sink, pour out the water at a slight angle (holding the flowers in place with one hand and pouring with the other). Carefully add more water through an opening in the side of the vase (not the top, or your flower heads will get wet!). Finally, add more flower food and your arrangement should last another 3-4 days.
I hope this post inspires you to create some beautiful carnation moments in your own home! I can’t wait to share more flower styling tips with you in future posts.