Be sure to watch the YouTube companion video I created to show you step-by-step instructions on how to make homemade limoncello!
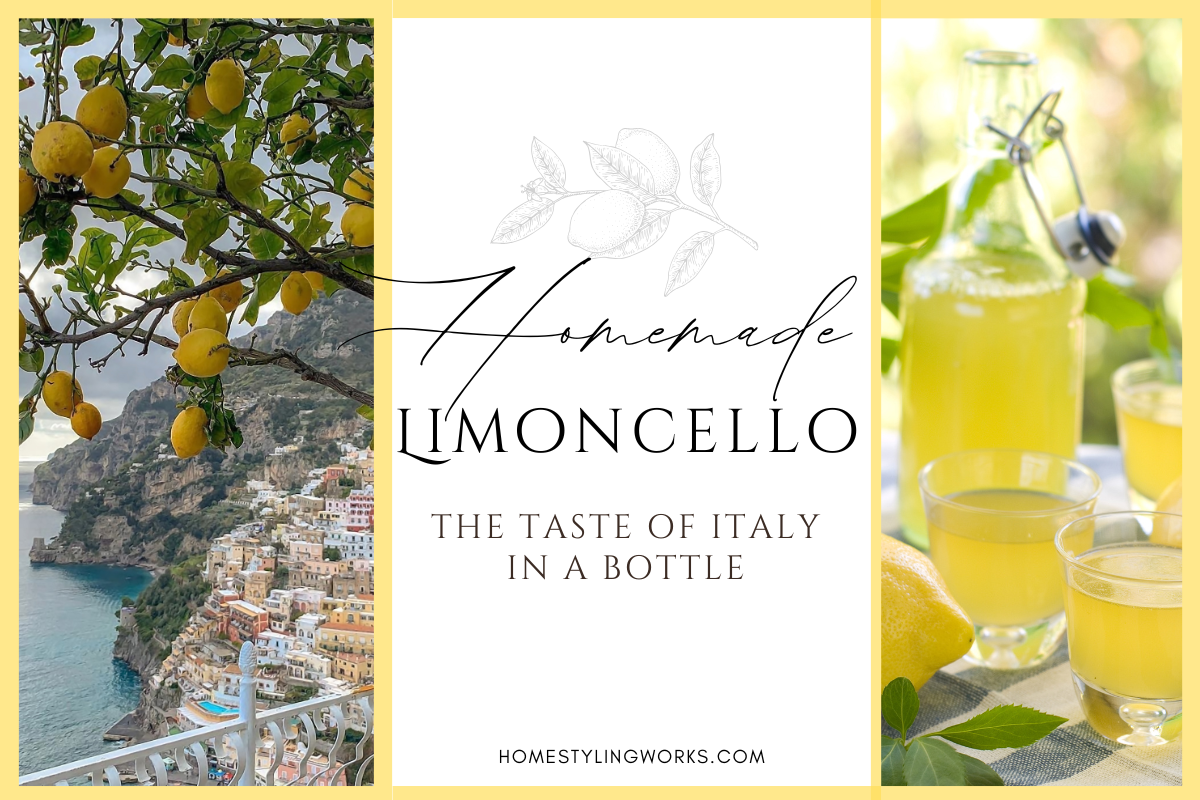
I’ve been making homemade limoncello for many years, and I especially love to give this as a gift. In this post, I’m sharing the secret ingredient to elevating your limoncello game!
FIRST TASTE OF LIMONCELLO
I first tasted limoncello on a birthday trip to Florence, Italy in 2004. It was served as a digestif after a leisurely lunch – and I found that in many restaurants in Italy, the limoncello is complimentary. Nice touch!
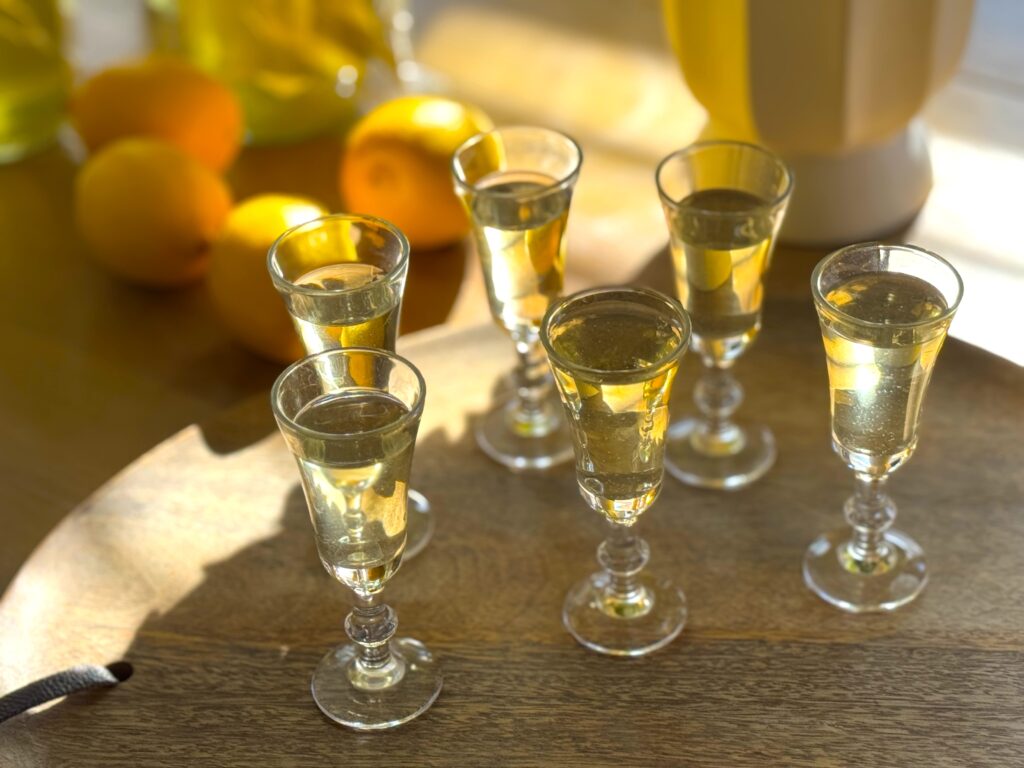
I’d describe the taste of limoncello as smooth and citrus-y, not at all sour. Not long after my trip, I researched how to make limoncello so I could give it as a gift to family, friends and clients. Today’s post is a companion to my YouTube video where I’m walking you through the step-by-step process of makinig limoncello. Be sure to check it out!
LIMONCELLO HISTORY
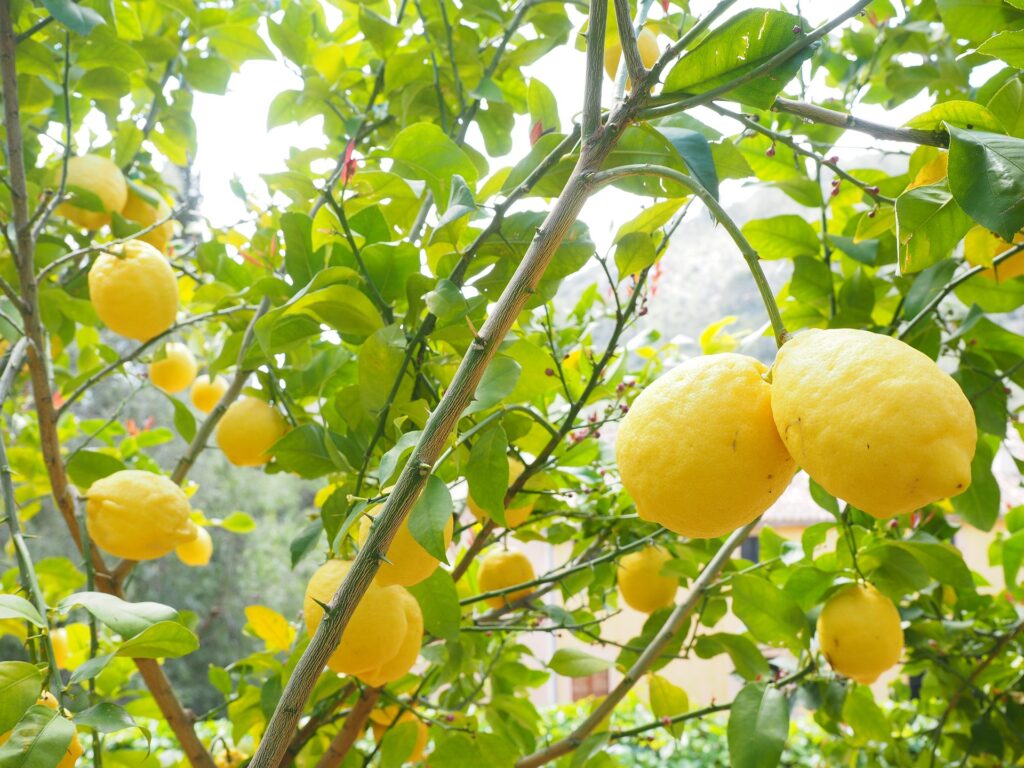
Limoncello has its roots in the southern Italian region of Campania, particularly on the famed Amalfi Coast and the island of Capri, where lemons are grown in abundance.
The exact origins of the drink are uncertain, but it is believed that it was first made by monks as a medicinal tonic in the 16th century. The monks didn’t add spirits to their limoncello, but over time the recipe evolved to include vodka and simple syrup, and it became the signature drink of the region. In the early 20th century, limoncello started to gain popularity outside of Campania, and it eventually spread throughout Italy and the rest of the world.
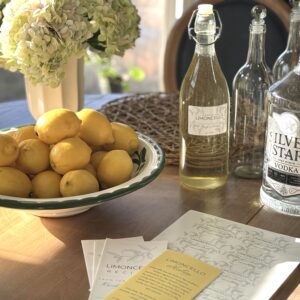
FOUR INGREDIENTS (PLUS A SECRET FIFTH INGREDIENT)
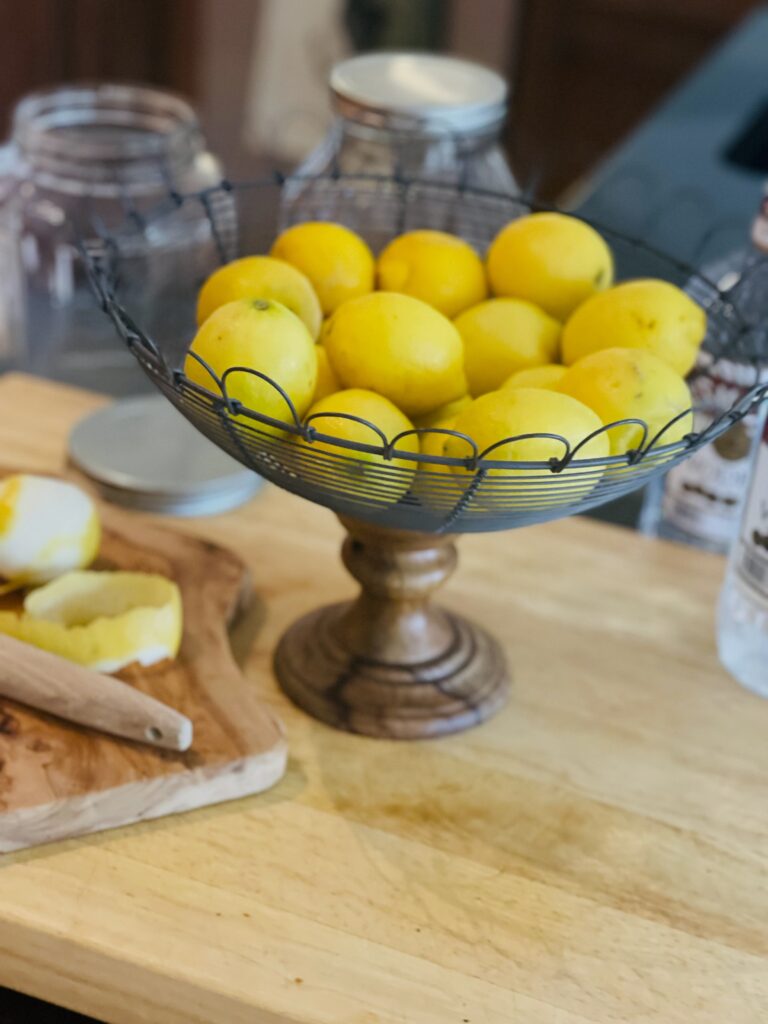
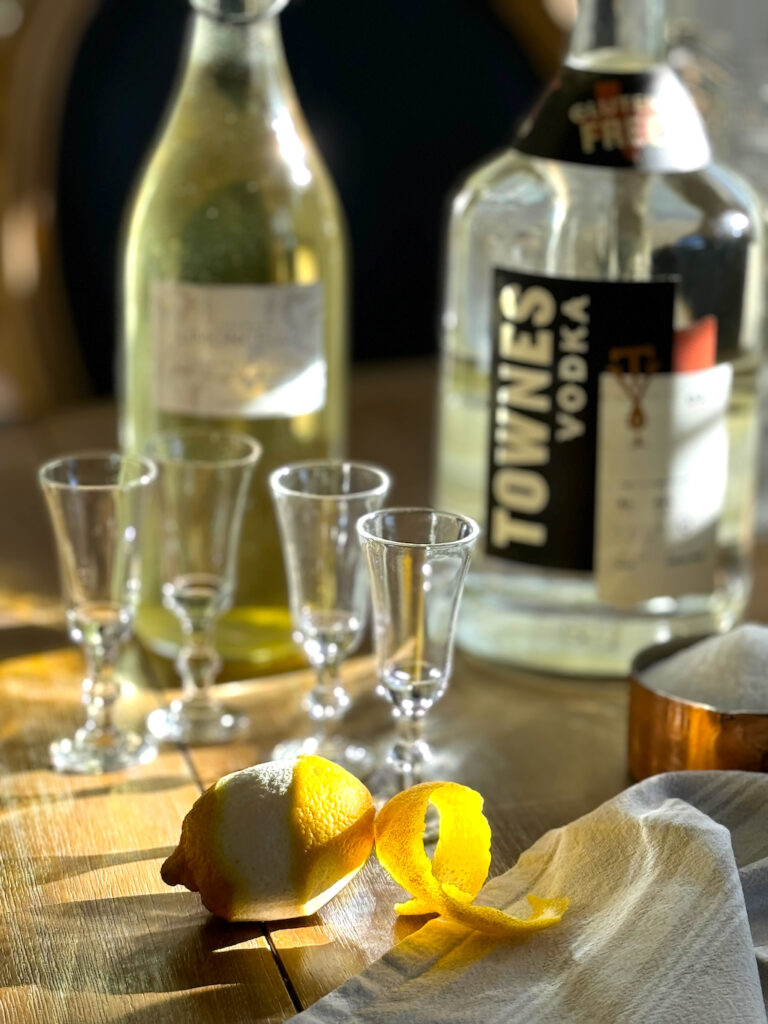
Homemade limoncello is made using just four ingredients: Lemon peels, Vodka, White Sugar and Water. That’s it.
So what’s that secret fifth ingredient? It’s what the Italians call ‘pazienza’. Making limoncello requires patience because after you peel the lemons and combine them in a wide-mouth jar with vodka, it needs about 4 weeks for the lemons to infuse the vodka. Some recipes call for the lemons to steep for only a week, but I’ve experimented with this recipe for years, and have found that the longer the lemon peels spend time in the vodka, it makes for a richer, more lemony limoncello. Trust me, it’s worth the wait.
LIMONCELLO SUPPLIES
You only need a few kitchen items to make limoncello (I’ve also linked to these items in the shopping gallery at the end of the post):
- Two 2-gallon wide mouth jars (you need this size when you go to add the simple syrup to the infused vodka)
- Y-peeler to peel the lemons (this set comes with a Y-peeler and a strip zester, which you can also use to zest the lemons)
- Funnel
- Fine mesh strainer
- Saucepan to make the simple syrup
RECIPE
HOMEMADE LIMONCELLO
Equipment
- 1 Vegetable Peeler Zester would also work
- 2 2-gallon wide mouth jars with lid
- 6 Clear glass bottles with stoppers or flip top lid
- 1 2 quart saucepan
- 1 5 inch mesh strainer
- Masking tape & marker
Ingredients
- 12 Organic lemons
- 1 1.75 liter Bottle of vodka Mid-priced brand is fine
- 5 cups Water
- 3 cups White sugar
Instructions
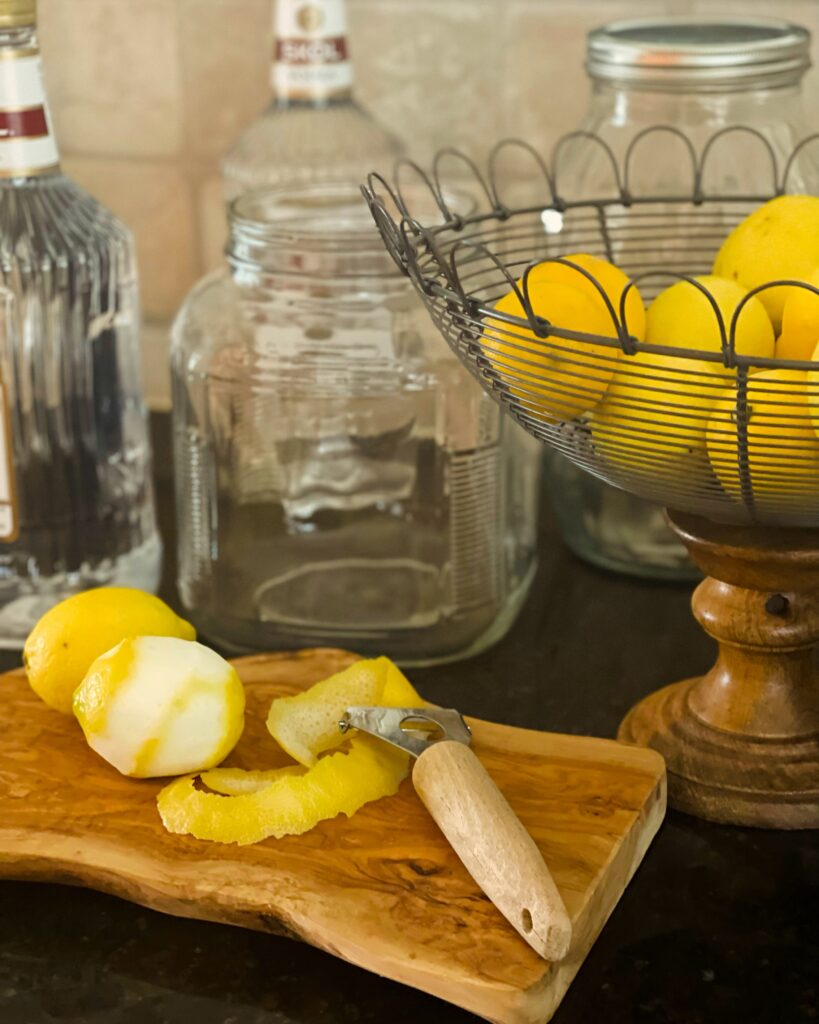
- Peel the zest of the lemons with a vegetable peeler and place in the two-gallon glass jar. Be sure to avoid the white pith underneath the skin of the lemon.
- Add the vodka to the jar with the lemon peels. Cover the jar with a lid and add a piece of masking tape and write the date on the lid. Store the jar in a cool, dark place for a minimum of 7 days, but preferably 3-4 weeks. The longer you store the mixture, the better the flavor will be.
- After storing the limoncello, make the simple syrup by boiling the water in a saucepan. Stir the sugar until it dissolves in the water. Remove from heat and let the simple syrup cool for 1-2 hours and it's ready to use.
- To bottle the limoncello, strain the lemon peels from the vodka mixture through a fine mesh strainer in the second two-gallon glass jar. (You can rinse out the first jar and use it on rotation to make more limoncello). Add the cooled simple syrup to the jar with the strained limoncello mixture and give it a stir.
- Using a funnel, decant the limoncello into glass bottles, leaving a one-inch space at the top (to allow room for the stopper). Place stoppers in the bottles and refrigerate the bottles for one week. After that, the limoncello is ready to drink!
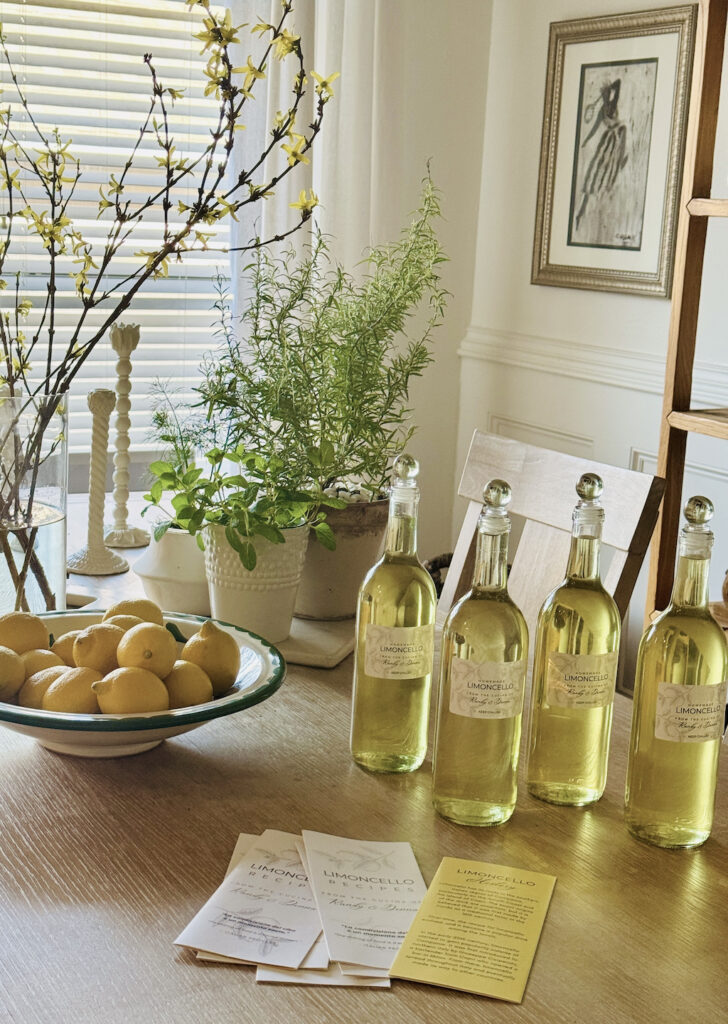
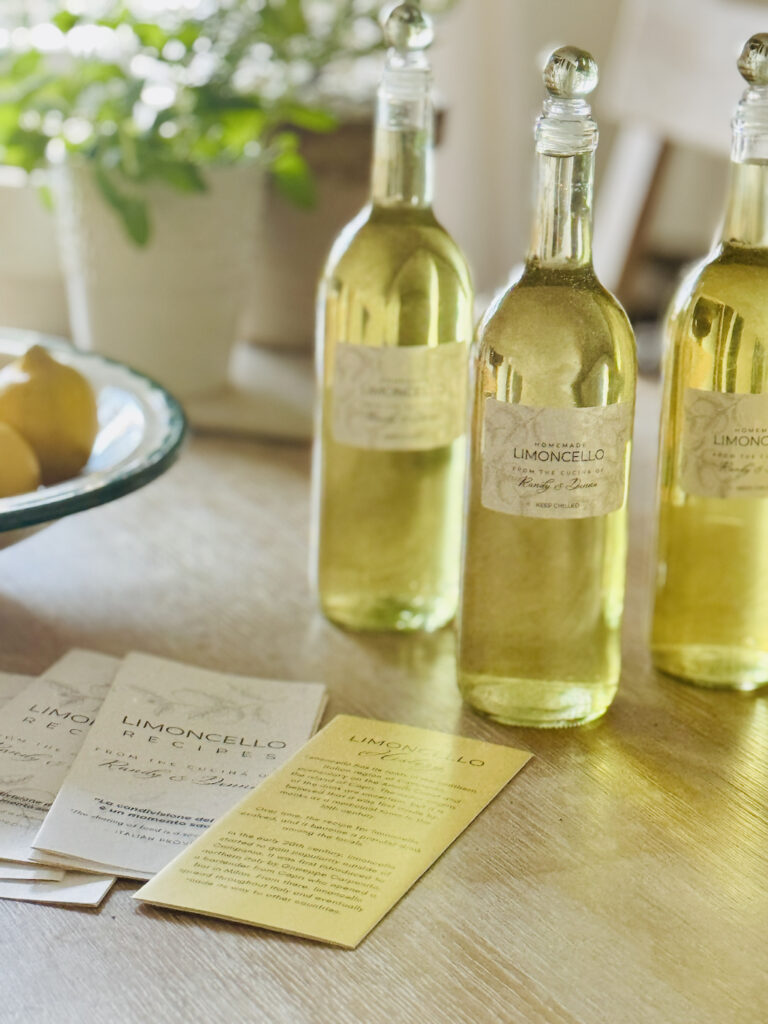
LIMONCELLO GIFTS
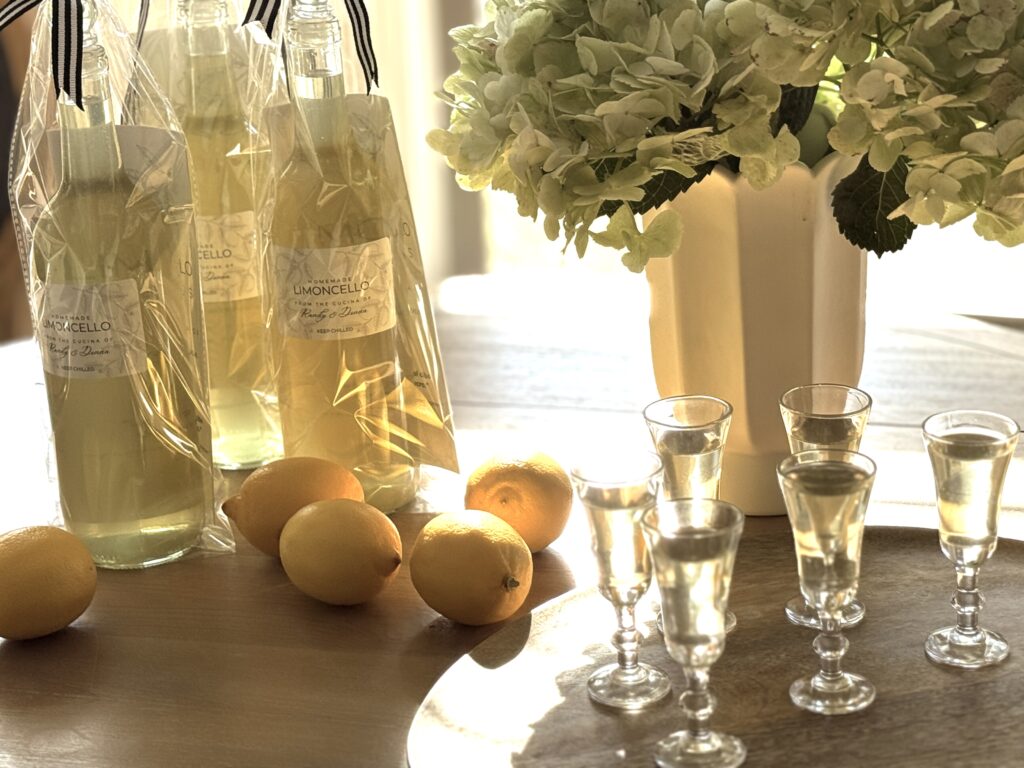
To make limoncello as a gift, you can order customized labels and clear glass bottles. I’ve linked to a few options in the shopping gallery at the end of the post. Some of my favorite labels and bottles are linked here and here.
This past year, I designed a tri-fold printable color brochure that features the limoncello recipe, plus 6 limoncello cocktails and a limoncello dessert recipe. The tri-fold design makes it easy to add to the gift bag with the bottle of limoncello.
The good news is that I’m selling the PRINTABLE DIGITAL DOWNLOAD for the Limoncello brochure that you can either take to a printer like FedEx Office or Kinko’s, or you can print it on a color printer at home. Click HERE for the link to order the instant download on my Etsy Shop.

WHAT TO DO WITH THE LEFTOVER LEMONS
I’m often asked what I do with all the peeled lemons left over from making the limoncello. Here are a few ideas that don’t involve using the lemon zest – just the lemons and their juice:
- Homemade Lemon Curd
- Lemon Salt
- Old-Fashioned Lemonade
- Grilled Branzino with Lemons & Herbs
- Olive Oil Cake with Lemon Mascarpone Cream
- Lemon Butter Sauce to serve over seafood
- Lemon Vinaigrette Salad Dressing (use lemon in place of vinegar)
- Lemon Shake-Up (a fun summer drink!)
- Dried Lemon Slices to garnish desserts
- Perk up wilted salad greens by squeezing the juice of 2 lemons into a bowl of ice cold water and let them sit in the fridge for a 1/2 hour. Dry in a salad spinner and your greens will be ready for your favorite salad recipe!
LIMONCELLO PRODUCTS
Click on the images to go to the product page. Happy Limoncello Shopping!


MAKE SOME LIMONCELLO – IT’S EASY!
I hope this post inspires you to make your own limoncello using my tried-and-true method. And make sure to keep a few bottles on hand (in the refrigerator) for last-minute hostess gifts!