FOOD STYLING 101
It was Apicius, the 1st Century Roman gourmand, who purportedly coined the phrase “We eat first with our eyes”. It’s also a favorite mantra among chefs and food stylists everywhere. So how does that apply to today’s post? I believe you can take the simplest foods and elevate them to something special when they’re beautifully presented.
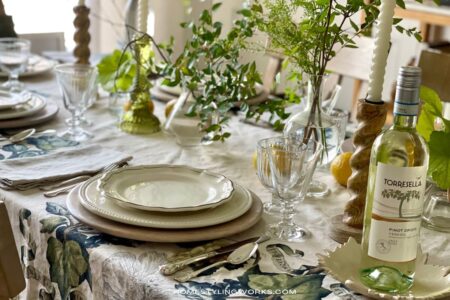
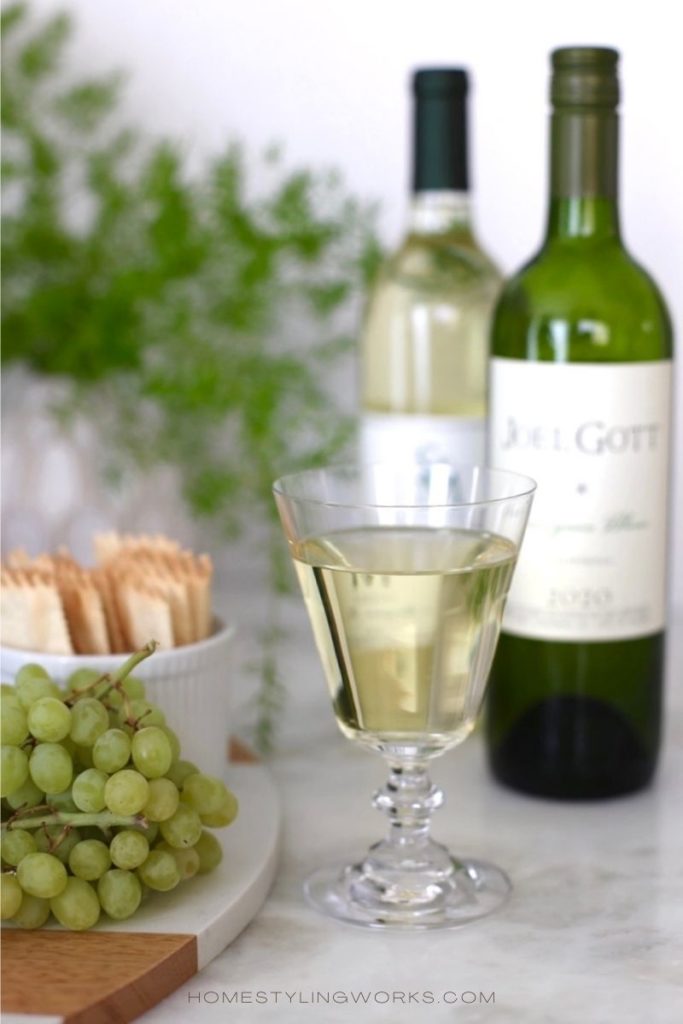
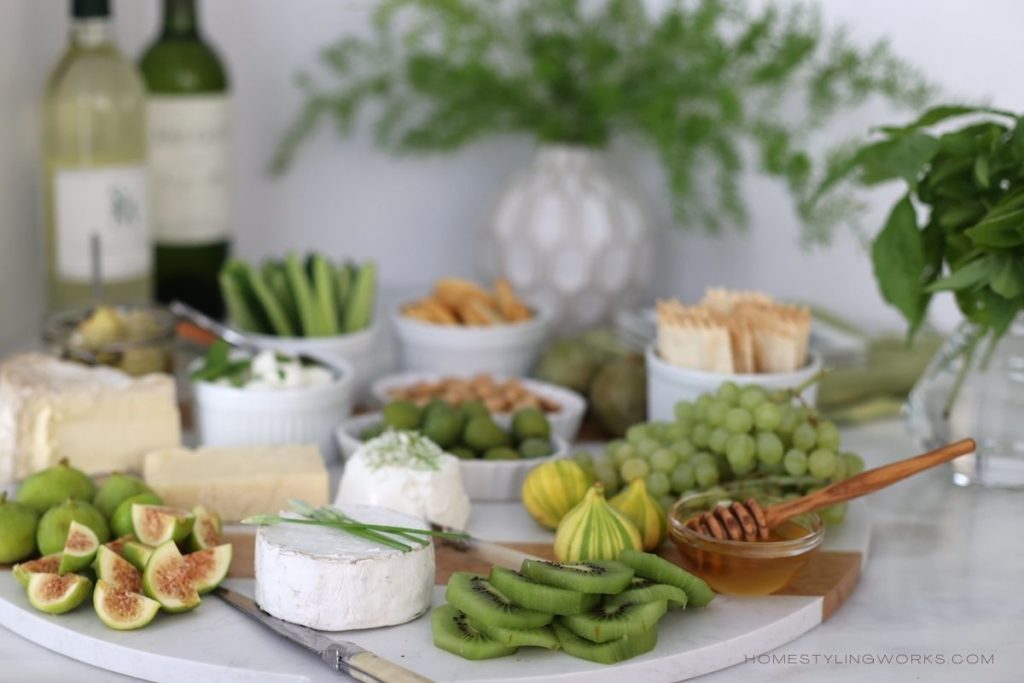
When I produced editorial and advertising content, I gained a lot of experience in food styling and how to make food look appetizing in photographs. Below are a few examples of how I styled with food and wine on photo shoots I produced for Better Homes & Gardens and Woman’s Day magazines:
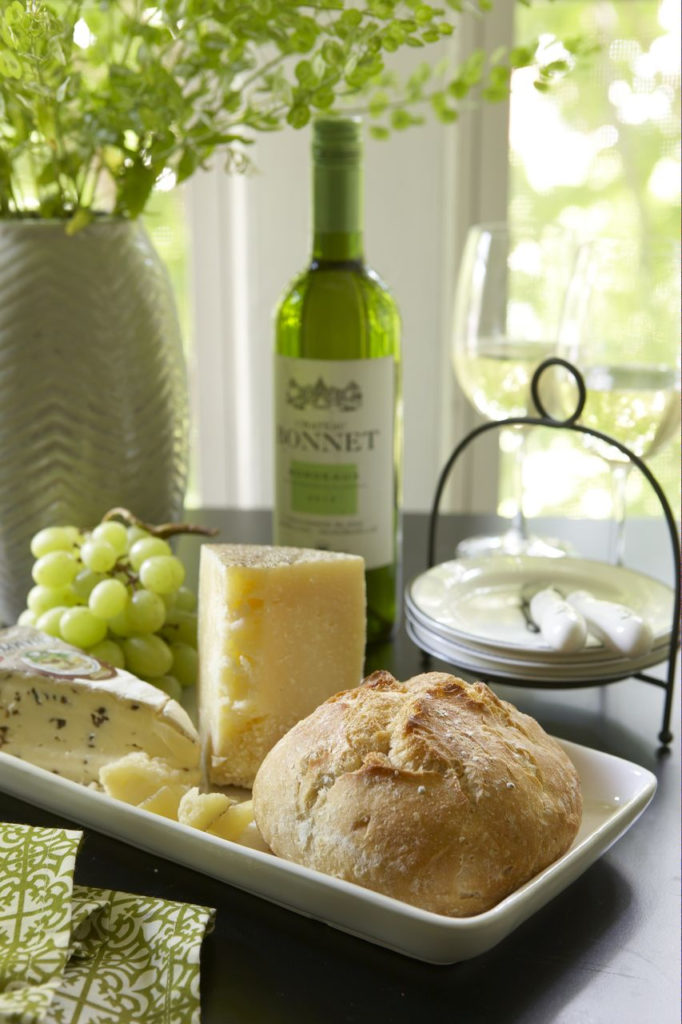

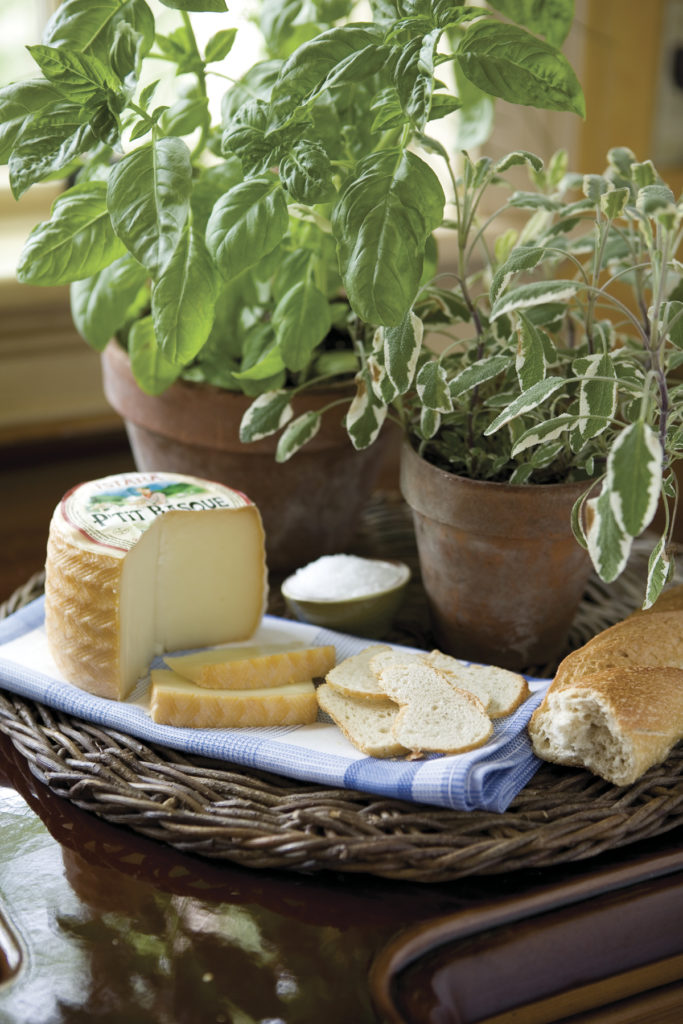
All three of these images feature the simplest foods – namely, herbs, cheeses and wine. Simple, but artful as well.
From time to time, I’ll be sharing behind-the-scenes food styling tips to help you Make Your Every Day More Beautiful® with how you present food to your guests. I call it “Food Styling 101”.
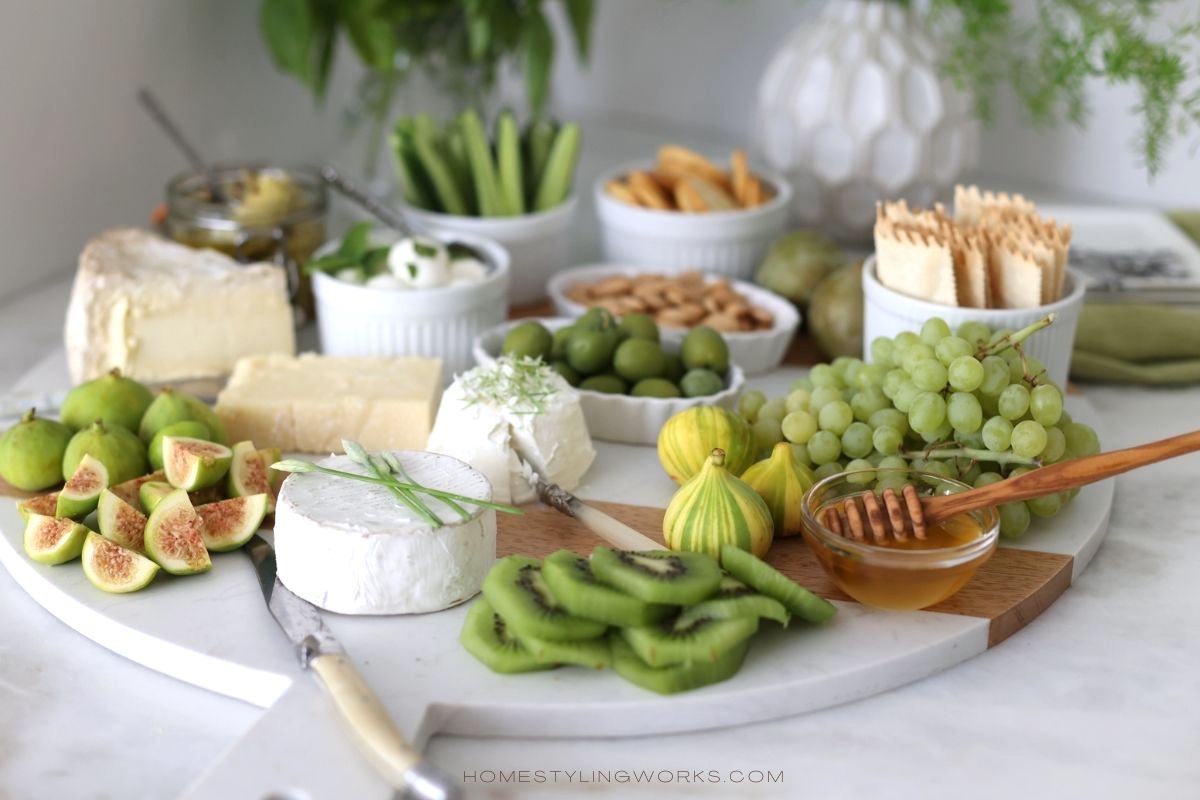
Today I’m starting with the ubiquitous Cheese Board, and I’m going to show you how to make it Special-with-a-Capital-S! This post isn’t about cooking – it’s more about assembling and arranging. A cheese board is a lovely way to welcome guests, and the best part is that you can put this all together in 15 minutes.
LET’S GET STARTED!
Before we get started, I’d like to point out that I like to separate cheese and charcuterie, for vegetarian friends. In a future post, I’ll be creating a separate charcuterie platter, but for today, I’m concentrating on making the cheeses (and their accompaniments) look beautiful.
Now, you could just buy a few cheeses and slap them on a board with a few knives and some crackers or bread and be done with it. But if you’re having company, it’s nice to go through a little bit of effort to elevate your cheese board to “photo shoot beautiful”.

A BEAUTIFUL BOARD
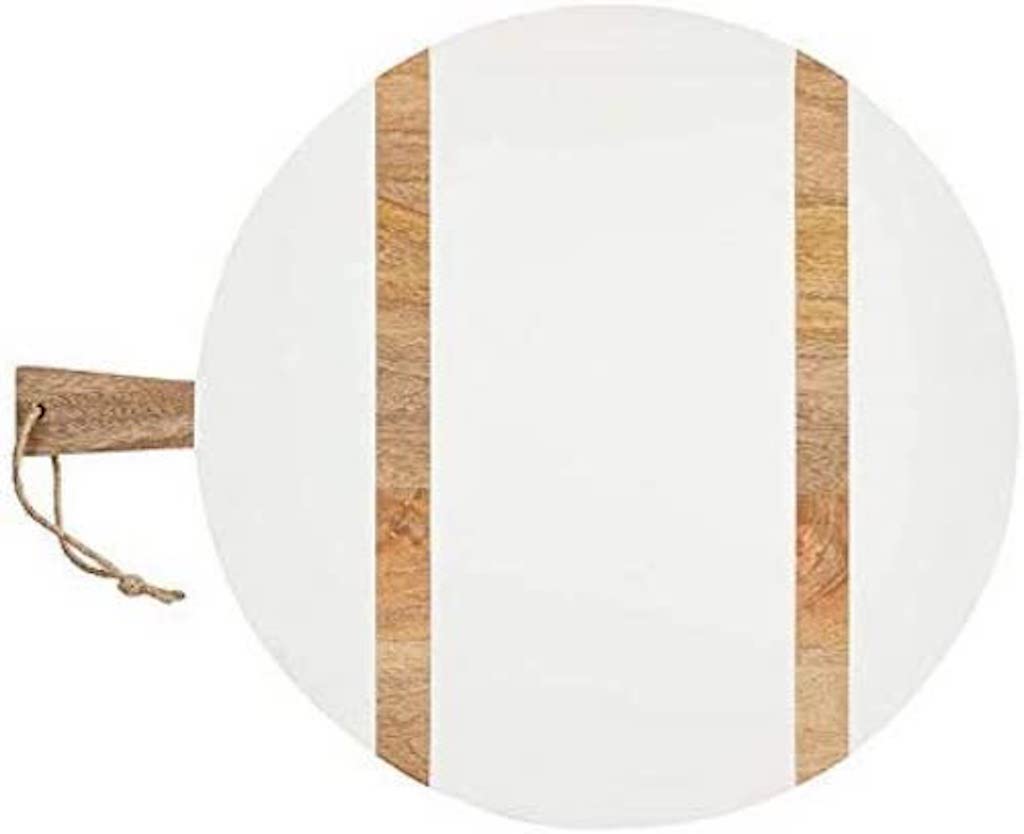
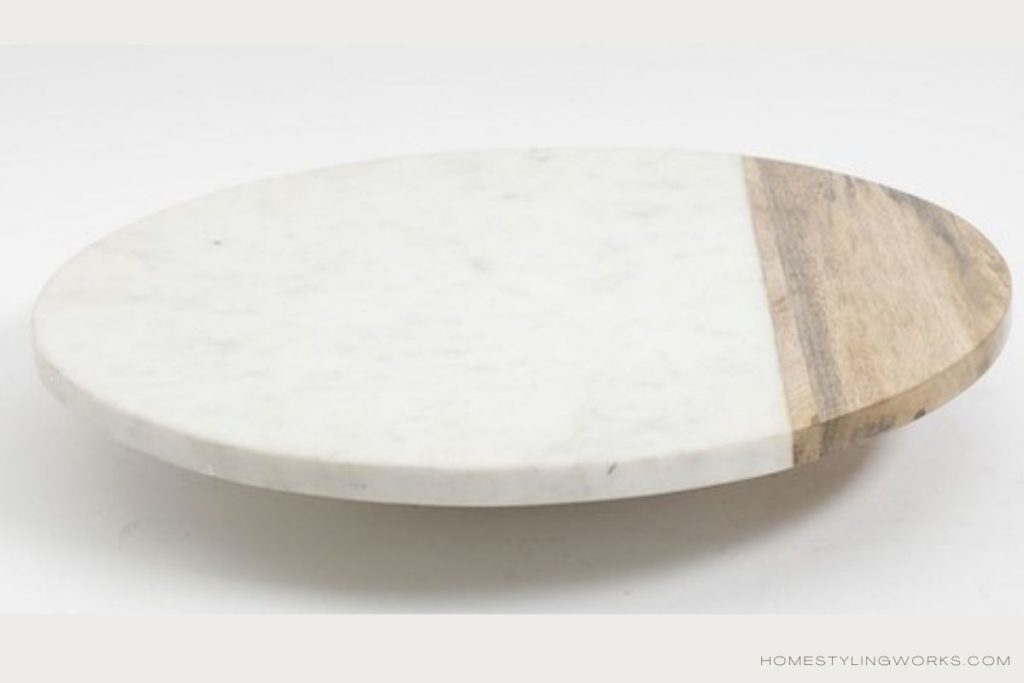
A beautiful cheese board starts with what you serve it on, and I like to use either marble or light colored wood. If you’re using marble, keep in mind that you don’t want to do heavy chopping on the surface – it’s not a cutting board! Here’s a link to the round marble & wood board I used in the photo shoot, and here’s a similar marble and wood lazy Susan.
COLOR SCHEME
Why a color scheme, you ask? Isn’t cheese already, um, white? Why, yes! And what does white go with? EVERYTHING! Red apples and strawberries, pale orange Charentais or Kajari melons, yellow passionfruit and pineapple, and deep inky blueberries, blackberries and elderberries (which pair nicely with blue cheeses). And for spring and summer, nothing feels more fresh than green and white. That’s the color scheme I’m sharing with you today.
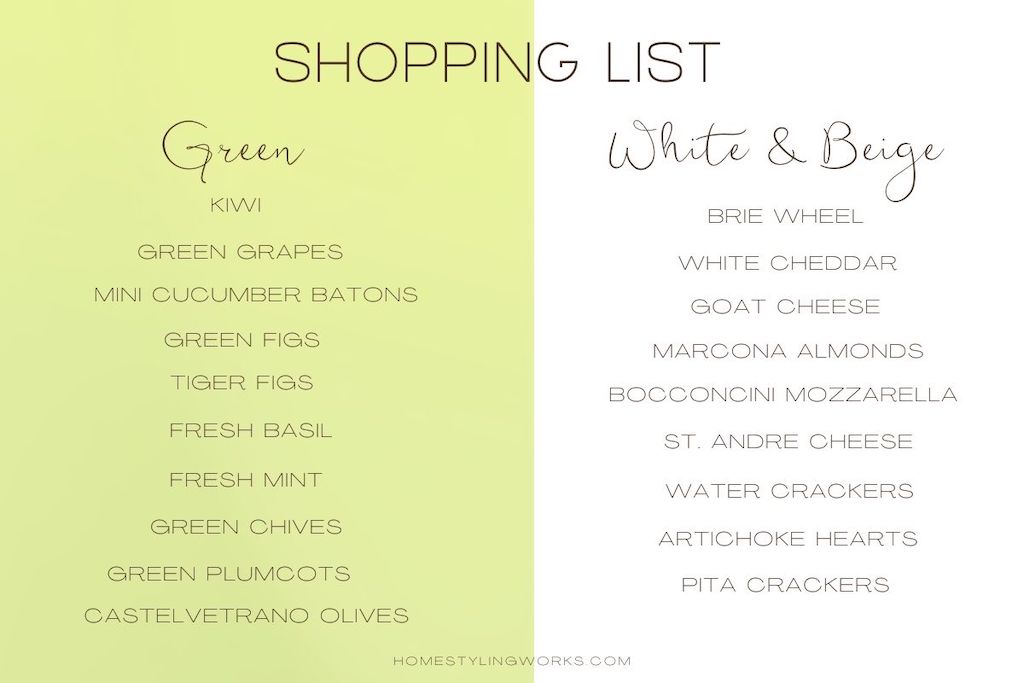
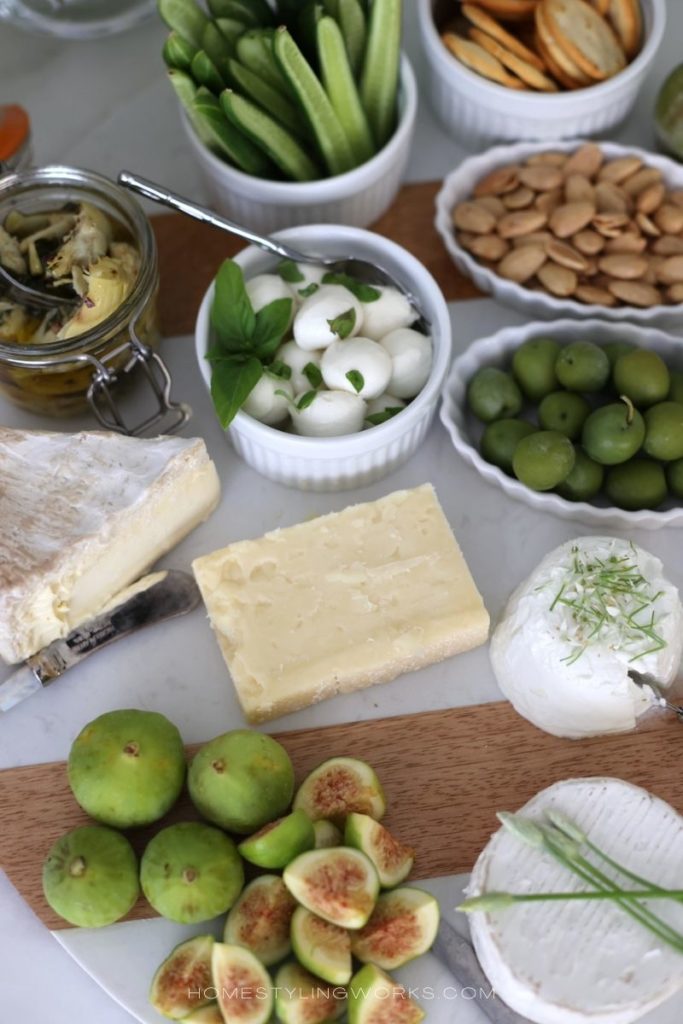
GREEN & WHITE FOODS
Below are the green and white foods that I incorporated into today’s cheese platter, to make shopping easy.
ARRANGING YOUR BOARD
The key to an artfully arranged board is to create visual order. To accomplish that, have all your foods on standby first. Then, visually divide the round platter or board into 3 segments. Within each segment, you want to create little “vignettes” with cheese, fruit (both sliced and whole), and various items corralled into white ramekins. If you’re not familiar with ramekins, they’re circular glazed ceramic dishes that can go from oven-to-table (if needed). They come in a variety of sizes and you can buy them for about $2 apiece. Here’s a set of 12 ramekins in 2 sizes for under $20.
The round ramekins and oval crème brûlée dishes have a multitude of uses in the kitchen, both for cooking and presentation. You’ll notice that I corralled smaller items (crackers, almonds, olives, cut veggies) into the ramekins. The reason I use those is that as your guests start digging in to the platter, it doesn’t look like – how to I put this? – a bit of a visual dumpster fire! Foods still look neat because they’re in the ramekins (also, they’re very easy to replenish). You don’t want perfection, but you don’t want a dumpster fire, either.

For serving, I use a mix of appetizer forks, small spoons, and different cheese knives to make it easy (and sanitary) for guests to serve themselves. I’ve linked to a selection of serving spoons, forks and knives in the shopping gallery at the end of the post.

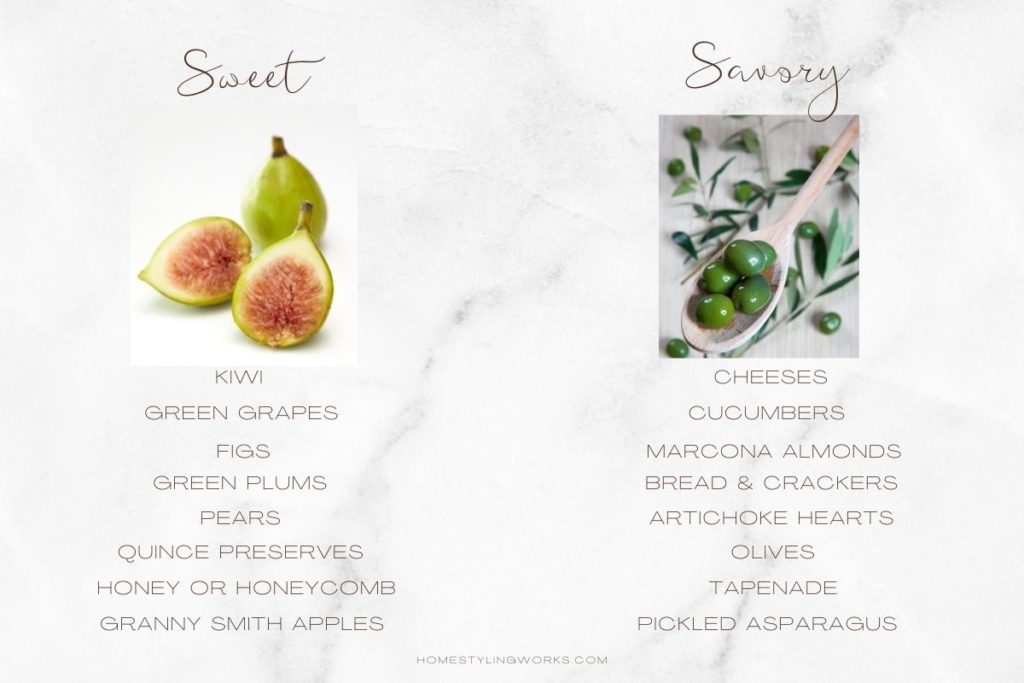
A MIX OF SWEET & SAVORY
To make your cheese platter, interesting, add a mix of savory and sweet items. I’ve included a few ideas below for both Sweet and Savory foods to add to your cheese platter.
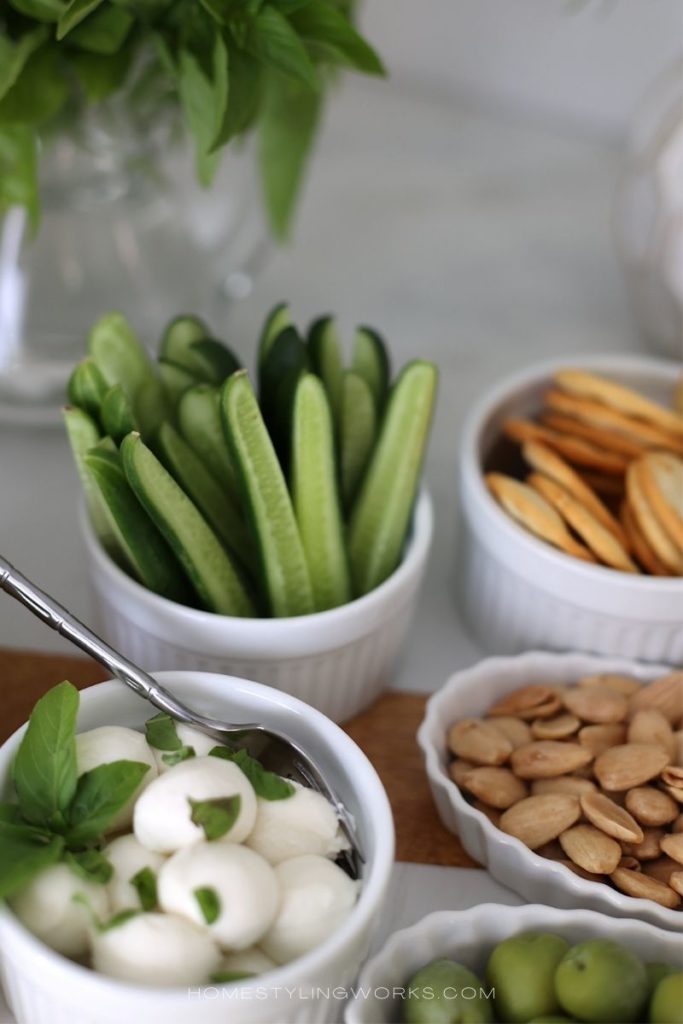
Below, a small bowl with very good farmer’s market honey with an olive wood honey dipper is a sweet option to drizzle on cheese. A savory option below right is the mini cucumbers I cut into “batons”, which makes a lovely presentation when placed upright in a white ramekin.
FOOD STYLING TIP: Cut foods into easy-to-handle pieces such as batons, rounds and bias cut on the diagonal and present them in ramekins or small dishes.

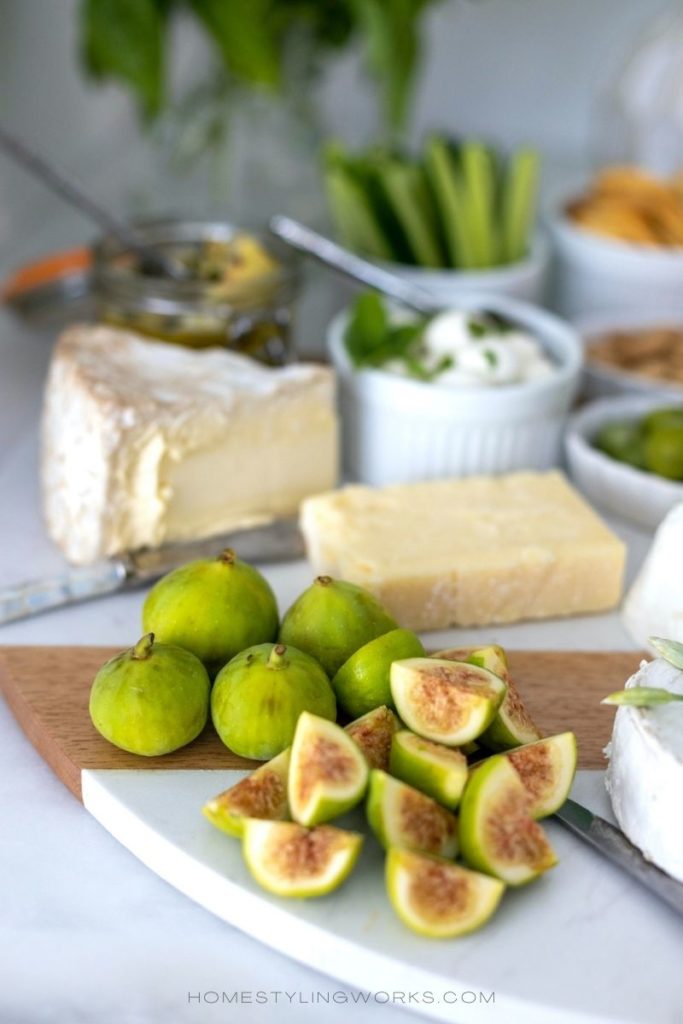


CHEESE TEXTURES
When selecting cheese for this sized platter, I recommend adding 4-5 varieties. Cheese comes in four textures: whipped/creamy, soft, semi-hard and hard. It’s nice to have a mix, not only for visual interest, but because people definitely have their favorites.
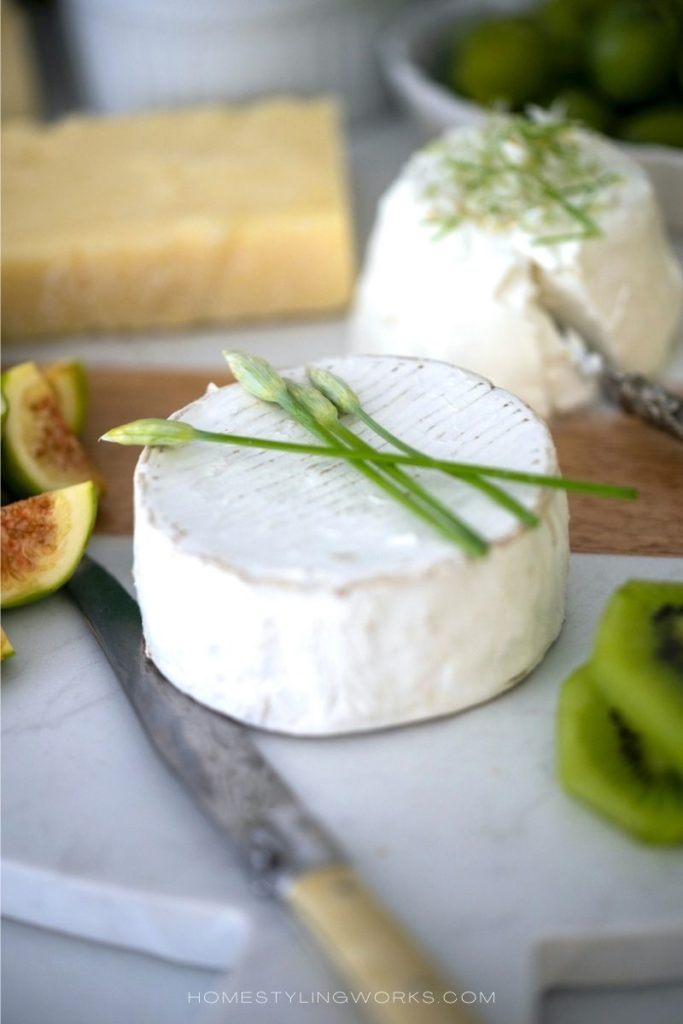
Notice the textures in the two images below: the round goat’s milk brie garnished with budding garlic chives (left), and the soft whipped chevre that I topped with tiny garlic chive flower buds (right).
FOOD STYLING TIP: Add interest to plain foods by garnishing them with another edible element in a contrasting color.

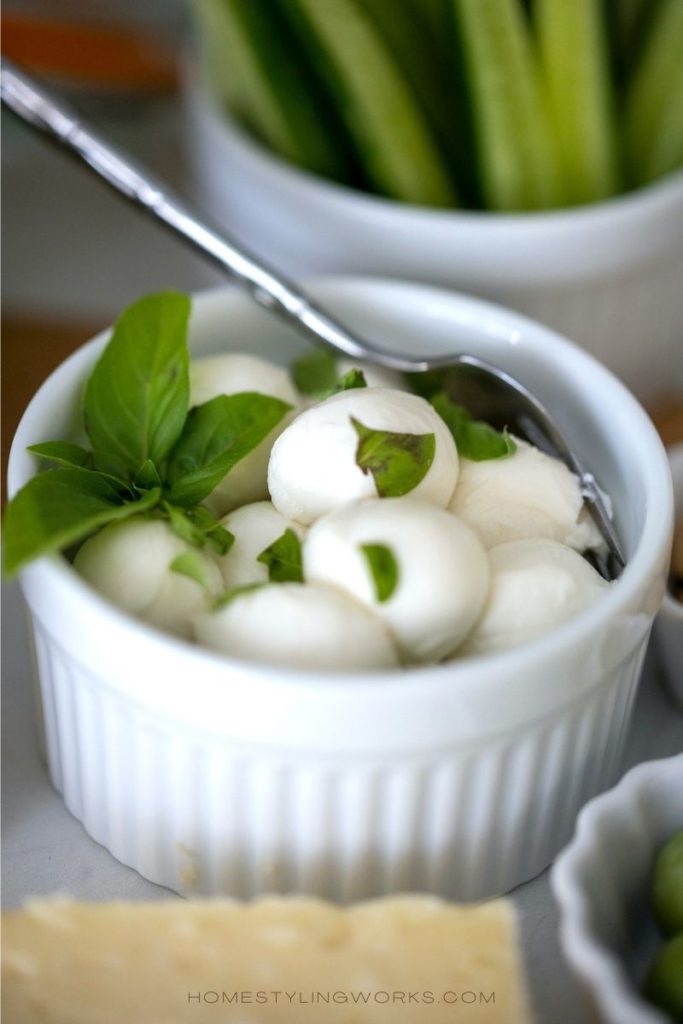
Another example of cheese textures is the round bocconcini (mozzarella balls) that I tossed with some fresh basil (below left). The St. Andre Triple-Creme Brie is lusciously smooth and creamy and provides a nice visual (and taste) contrast to the other cheeses (below right).

I’ve written more about my favorite French cheeses in my post about How To Style A French Picnic. For your Green & White Cheese Platter, you don’t have to limit yourself to French cheeses. Below is a list of my favorite cheeses – from France to Italy to Spain. For an interesting mix of textures, choose one from each category.

FRESH HERBS
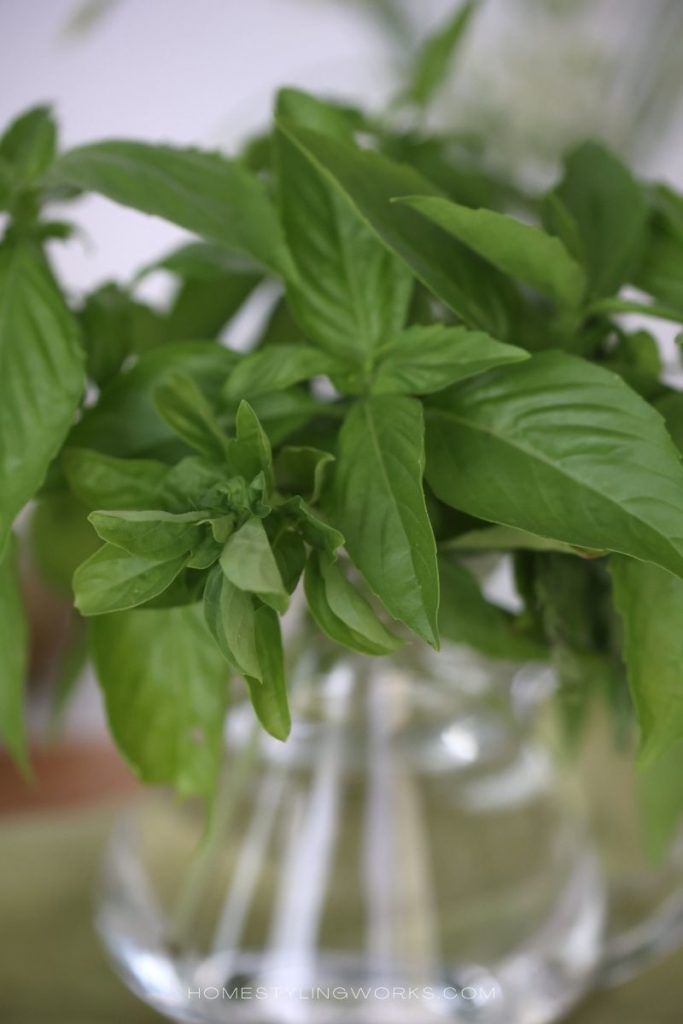
Cut fresh herbs in simple glass pitchers and glasses as part of the overall “tableau” next to the cheese platter adds a fresh touch and ties in the color scheme. I also added a modern vase with cut asparagus fern sprigs as a grouping with the herbs.
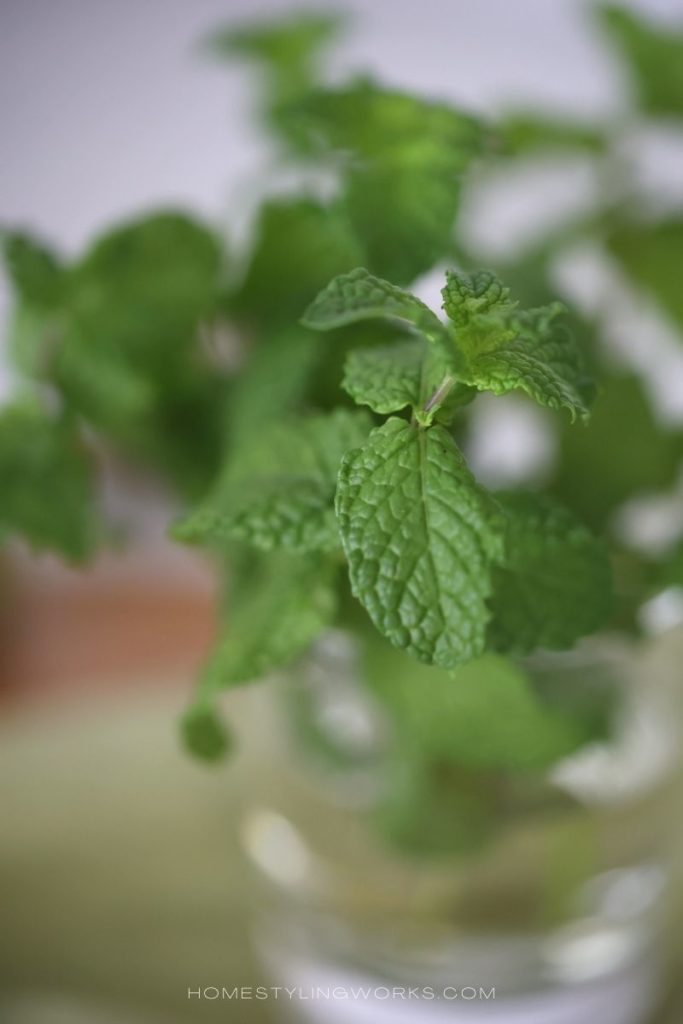
Some cut herbs that you can add from the farmer’s market (or in your own garden) are basil (below left) and mint (below right). Also, if you keep the cut herbs in a glass of water in a sunny window, they will root to create a new plant in about 10 days.
Garlic chives are so easy to grow, and in August they produce the most beautiful, edible white flowers in our herb garden (below left).

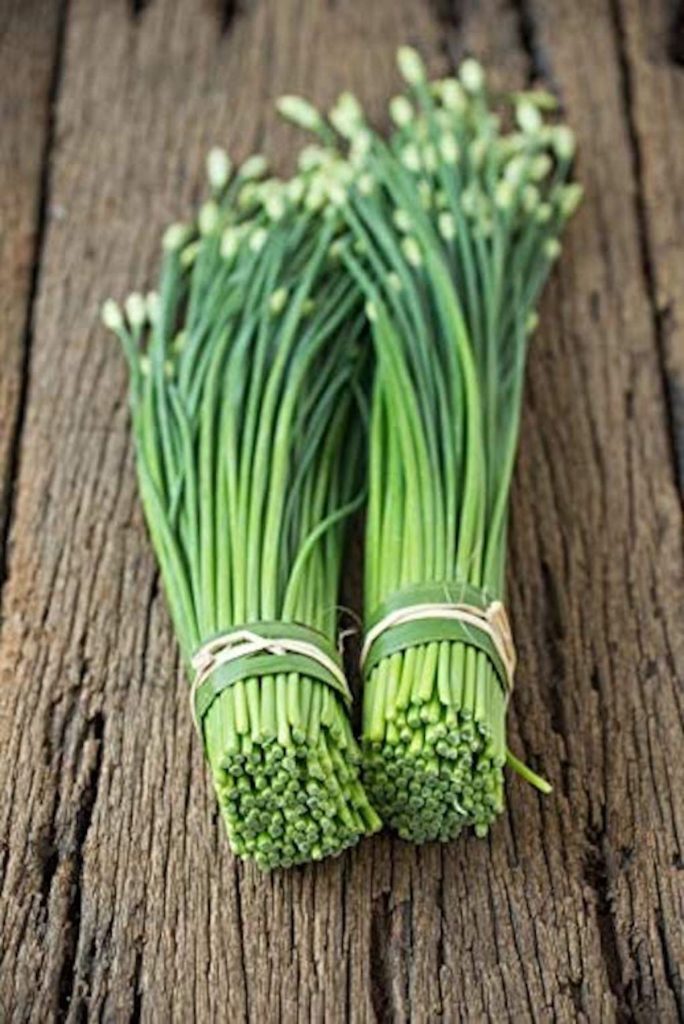
I also used budding garlic chives as a green garnish to the top of the goat cheese brie (below right):


FOOD STYLING TIP: Accent the area around your cheese platter with small vases of fresh clipped green herbs, to tie in the color palette.
ACCENT COLOR
Everything green and white would look a little static, so I like to add a third accent color that doesn’t overpower – beige foods sound boring on their own, but as an accent to the vibrant green and fresh white, they add a kind of depth to the cheese platter.
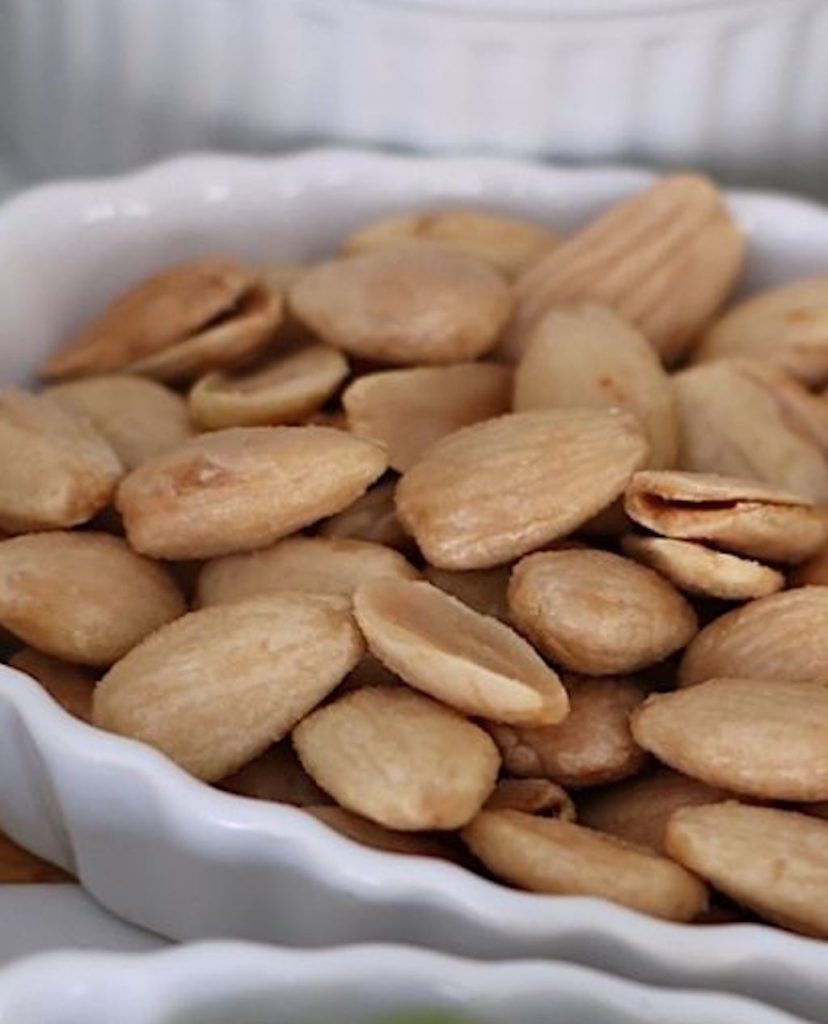
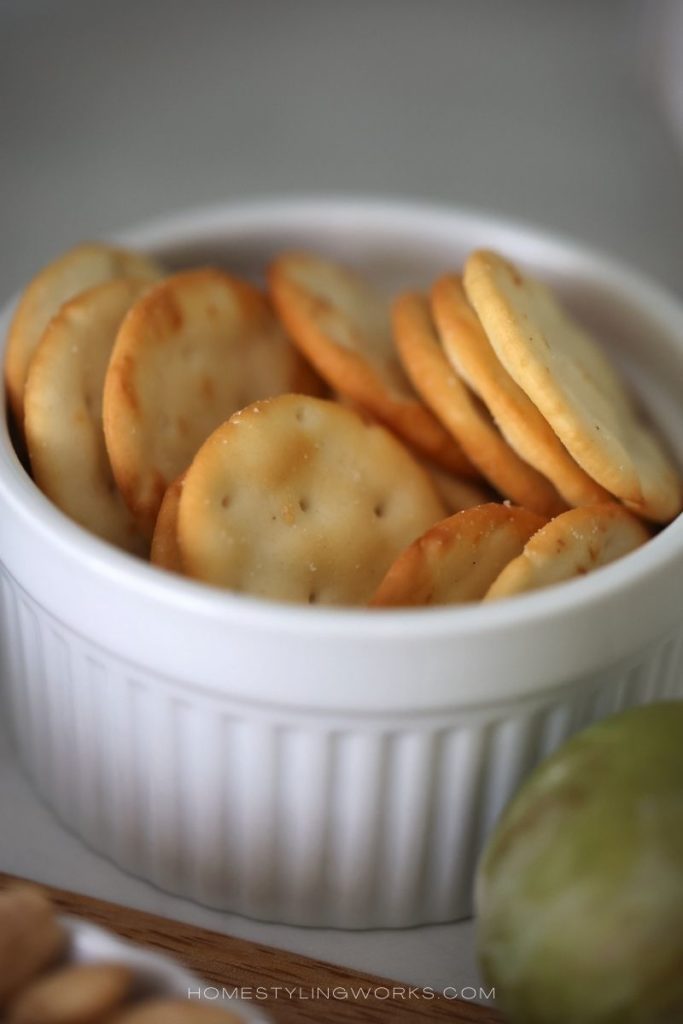
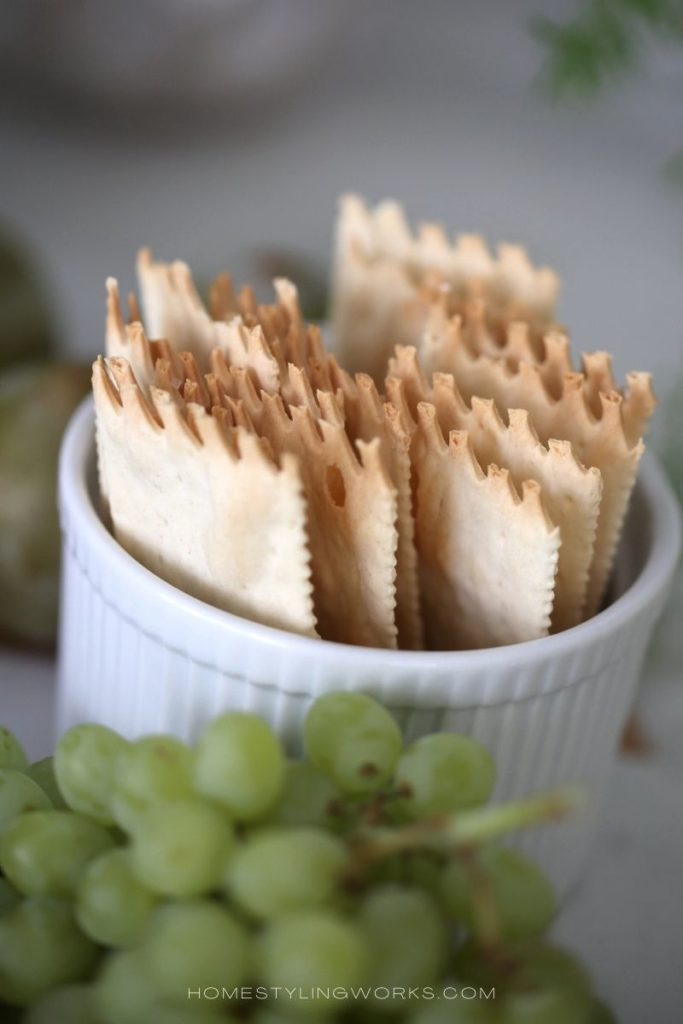
Below, I added a French Le Parfait half-pint jar of Italian Marinated Artichokes (recipe at the bottom of the post), Spanish Marcona almonds and two kinds of crackers. You can also add sliced French bread to the board, in addition to the crackers.

THE FINISHING TOUCHES
Small white square appetizer plates, tiny appetizer forks and green linen napkins tie in the color scheme. And what would a cheese platter be without wine? Some nice options for white wines are a crisp Sauvignon Blanc (the Joel Gott pictured below is around $10 a bottle) or my favorite Pinot Blanc. You could also serve a lighter red wine such as Beaujolais or a Pinot Noir.

ITALIAN MARINATED ARTICHOKE HEARTS
Ingredients
- 1 14-oz. can whole artichoke hearts in water
- 1/4 cup extra virgin olive oil
- 1/4 cup fresh squeezed lemon juice
- 2 tsp. grated lemon zest
- 2 cloves garlic
- 1/2 tsp. kosher salt
- Fresh cracked black pepper, to taste
- 1/4 tsp. red pepper flakes
- 1 tbsp. fresh basil, cut into chiffonade ribbons
Instructions
- In a small bowl, whisk together olive oil, white wine vinegar, garlic and salt.
- Add basil, lemon zest, black pepper and red pepper flakes and stir to combine. Taste for seasonings and adjust to your taste.
- Slice the whole artichoke hearts in half and add to olive oil mixture. Stir to combine.
- Divide mixture between two half-pint glass lidded jars and refrigerate for 2-3 hours. The longer it marinates, the better it tastes.
- Let come to room temperature before serving. Refrigerate after use.
LET’S GO SHOPPING!
CLICK ON THE IMAGES BELOW FOR PRODUCT LINKS:


With the Labor Day holiday coming up (and we’re at the height of summer outdoor entertaining), I hope this post has inspired you to Make Your Every Day More Beautiful® by sharing a lovely Green & White Cheese Platter with your guests!