ADD YEAR-ROUND INTEREST WITH GARDEN “TUTEURS”
Today, I’m talking about Vertical Gardening. Specifically, “elevating your gardening status” with TUTEURS.
So what exactly is a “tuteur”? According to Wiktionary, a tuteur (pronounced “two-tour“) is a three- or four-sided pyramid or obelisk-like trellis designed to help train climbing plants. The name tuteur is French for “to train” or “tutor”.
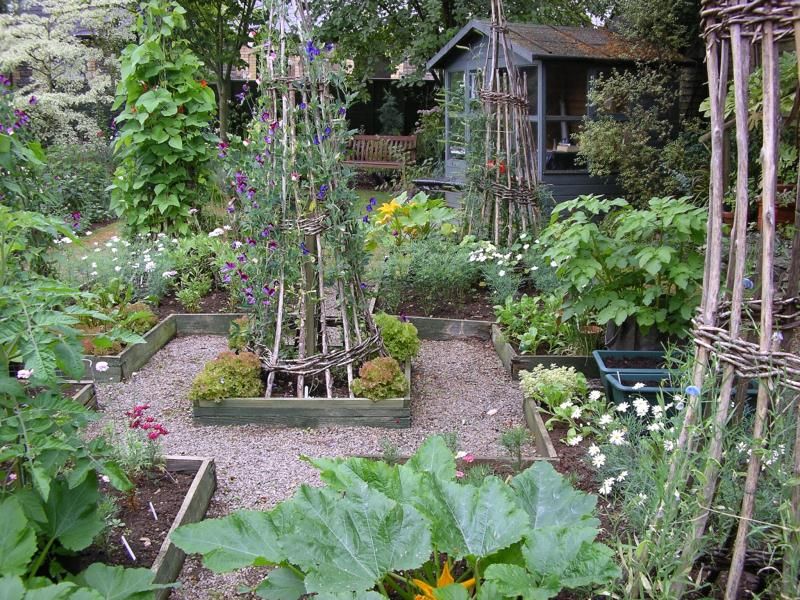
Even if you’ve never heard of tuteurs before, you’ve probably seen them in garden centers and perhaps even in actual gardens. Sometimes they’re called “obelisks”. But no matter what they’re called, they’re a fabulous way to add height and beauty to your garden. Think of them as freestanding trellises that have two functions: support and visual interest. The top image features tuteurs in the beautiful public gardens at Wave Hill in the Bronx, New York (photo credit: Janet Davis).
I discovered tuteurs on a visit to gardens in England in the 1990s and, shortly thereafter, began incorporating them into my garden designs.
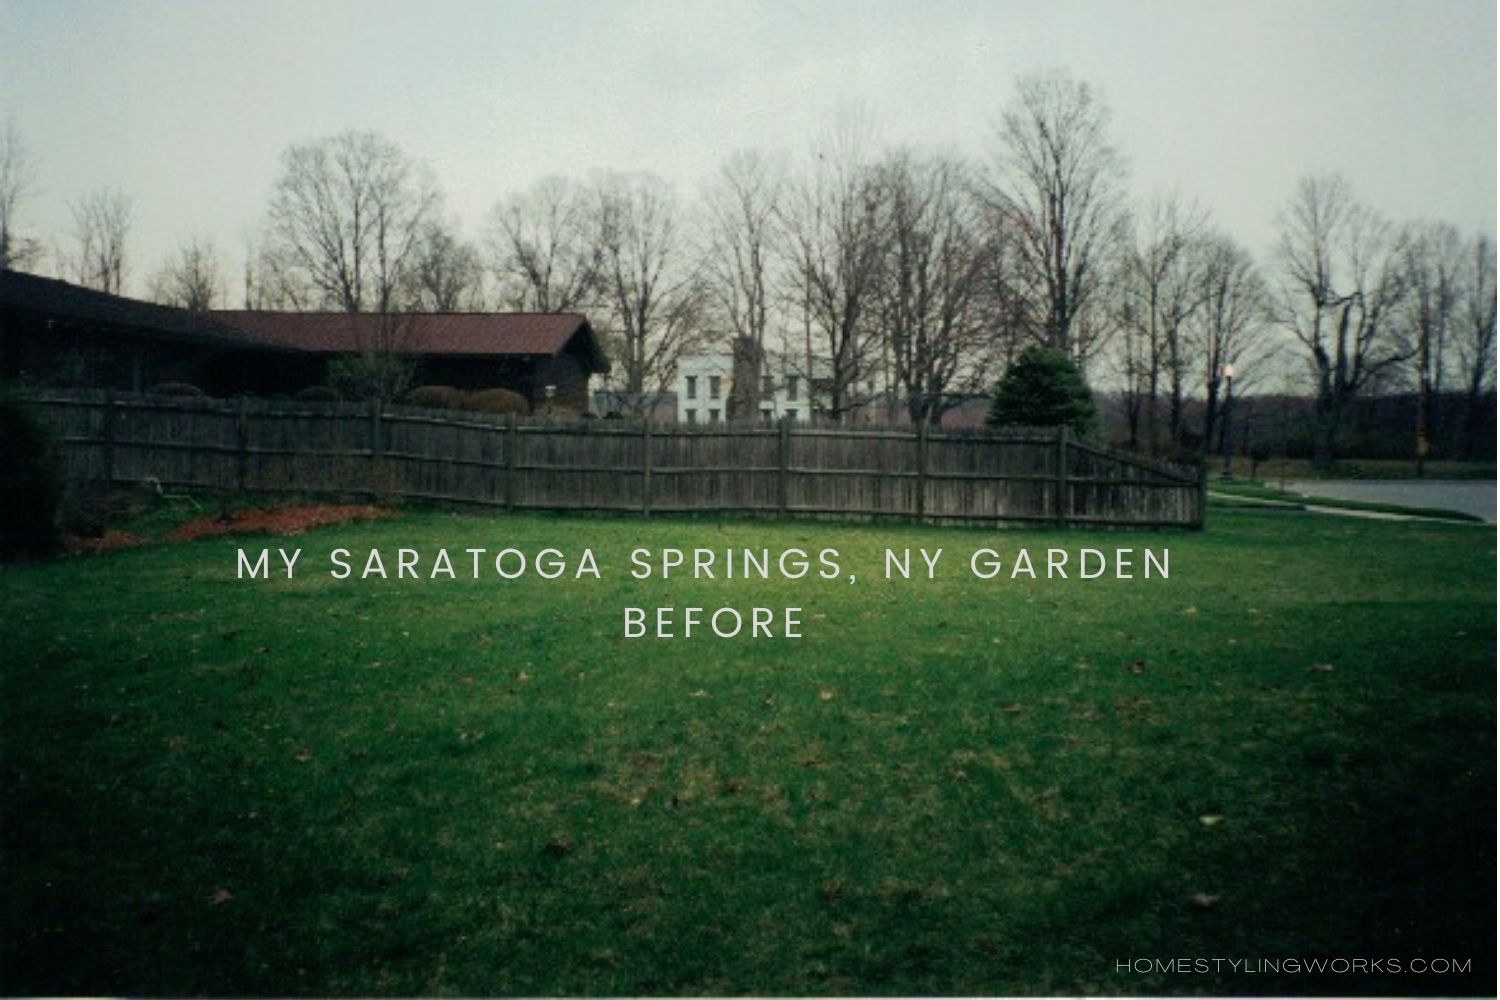
Case in point: I came across the photo below of the garden I created in Saratoga Springs, New York, where I transformed 1/4 acre of boring grass into a European-inspired garden. Here’s what the garden looked like “before” (the photo was taken in 1998 – before digital photography). I was inspired by visits to gardens in England and France and wanted to transform the large swath of grass into a series of garden “rooms”, with perennial gardens and a ‘potager’ (kitchen garden).
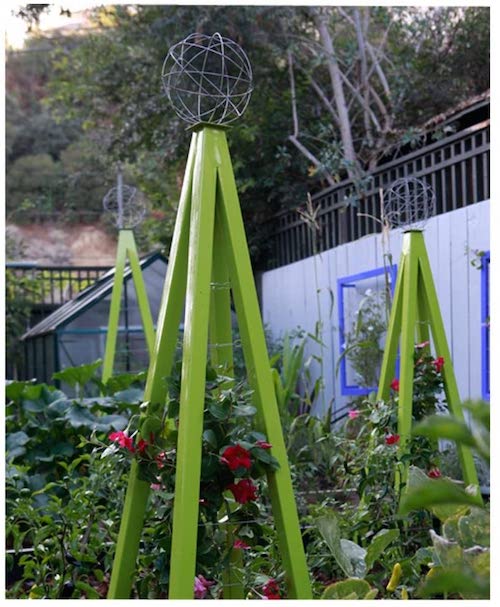
Below are a couple of views of the “after” gardens. Sometimes first-time visitors to my garden would jokingly say “Whoa! Did you plant the Garden of Versailles in suburbia?!” I must admit, it was a pretty ambitious understaking for a suburban back yard. Now here’s where the tuteurs come in. The kitchen garden along the back perimeter featured two wood tuteurs that I painted a beautiful mossy green color to accent the greenery surrounding the garden.
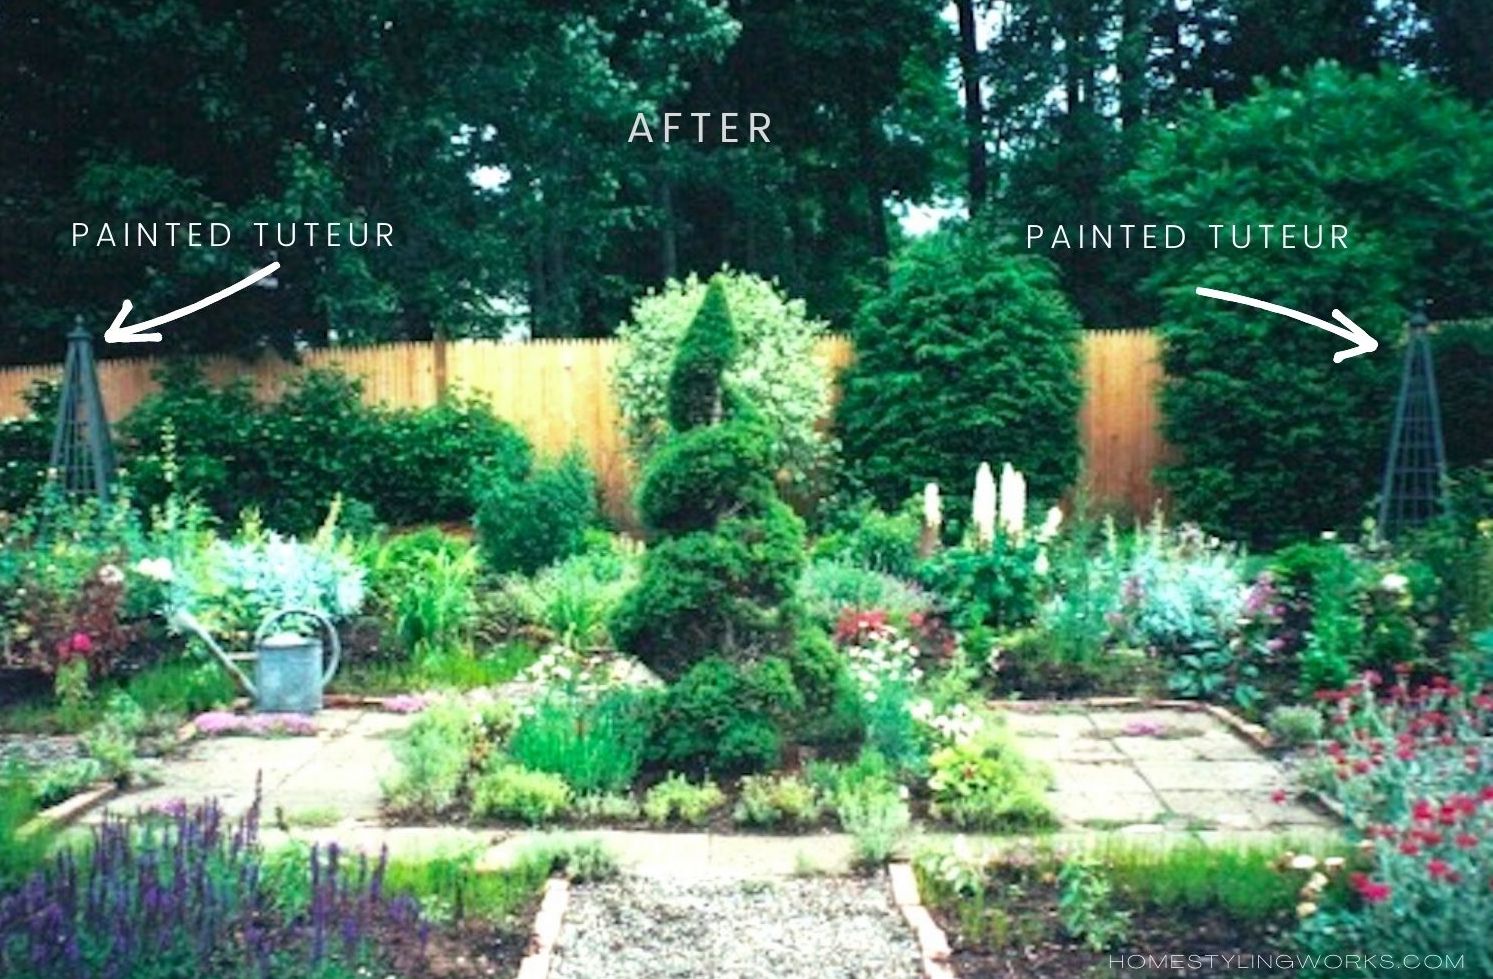
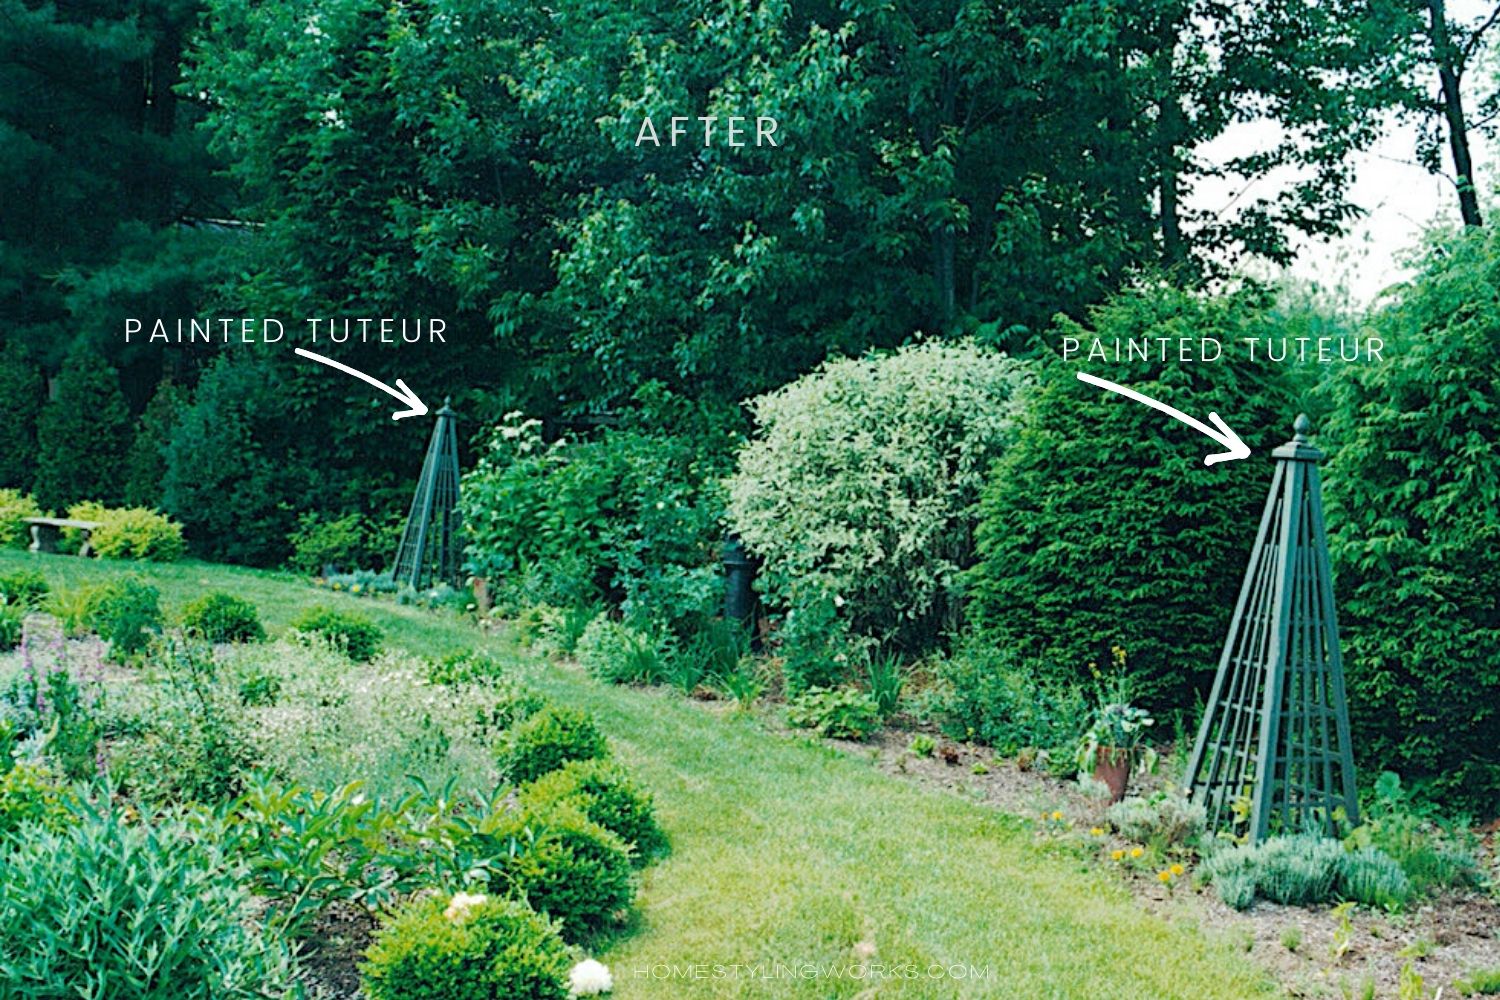
Above and below are two views of the same tuteurs. I incorporated the pair of tuteurs as focal points in the kitchen garden. Not shown are the sweet pea vines I would plant in spring, followed by climbing French green beans in summer. I also planted low-mounding lavender and nasturtium flowers around the base of each tuteur, to soften the edges. The tuteurs were secured in the ground with wire and stakes. I also put plastic bags around the feet before staking them in the ground, to prevent the wood legs from rotting.
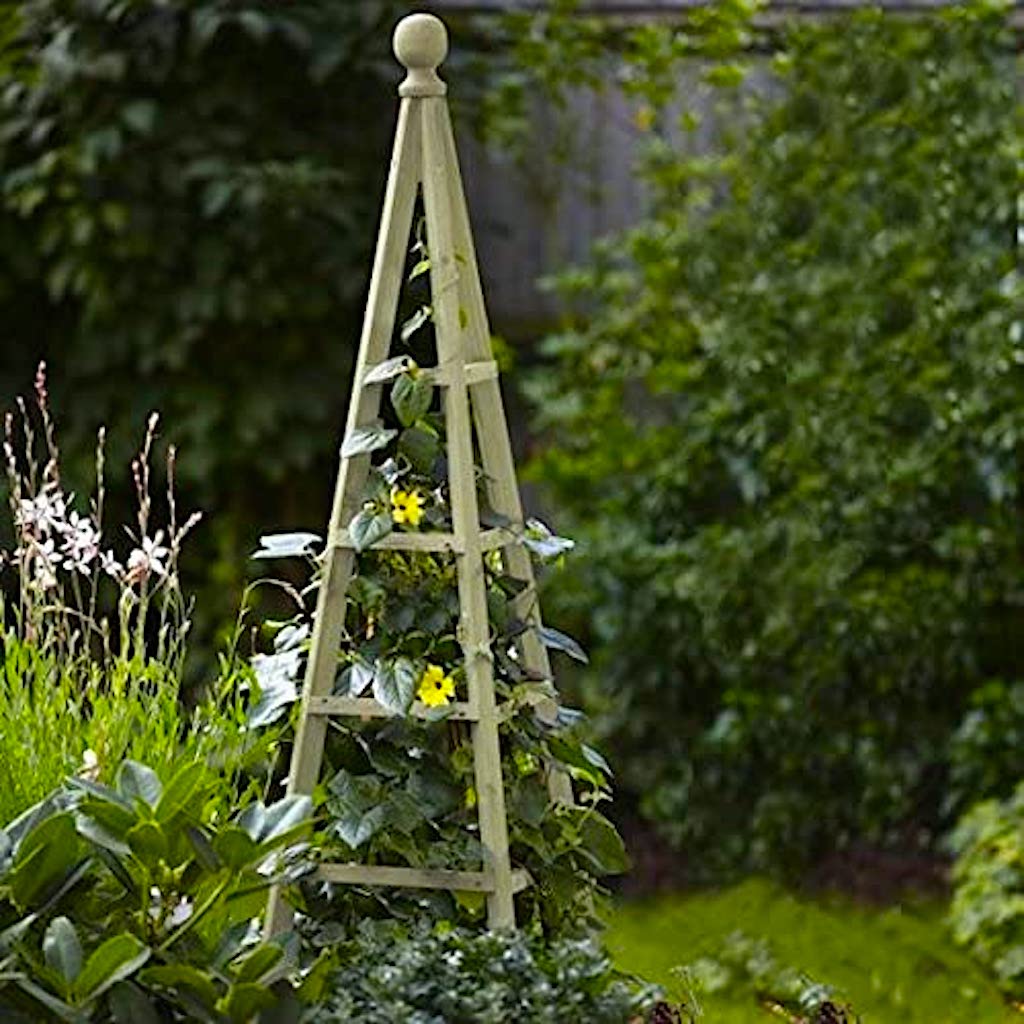
What I love about tuteurs are the classical proportions and how they offer a place to rest the eye – especially in a long expansive garden bed. They also add interest to the garden, even in the winter months. This tall wooden tuteur is very similar to the ones I painted green in my garden.
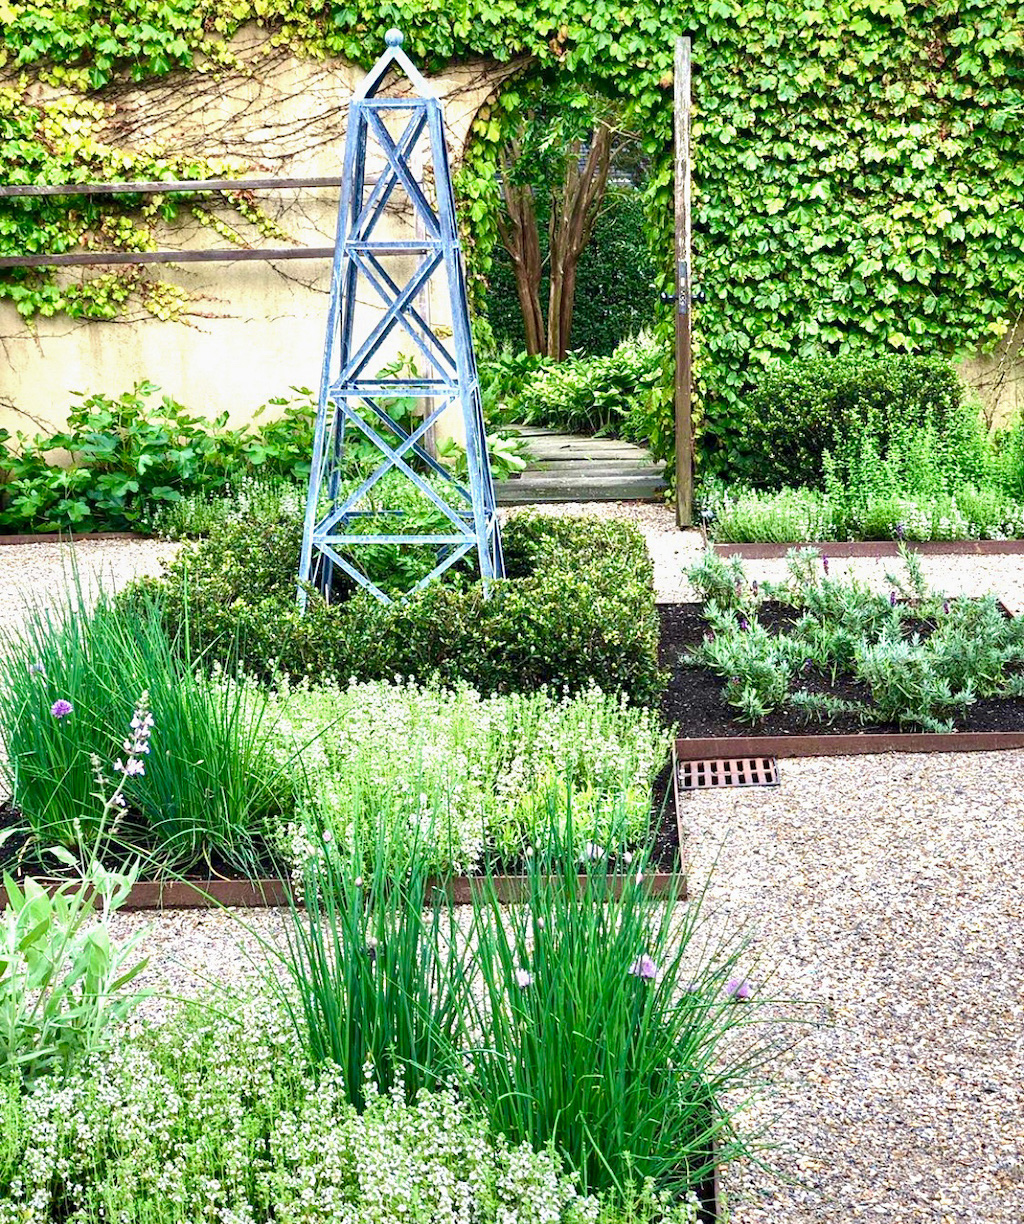
MATERIAL LESSONS
Tuteurs come in a variety of materials – wood, wrought iron or steel and willow being the most common. They can also be made from salvaged branches for a very rustic look.
WOOD TUTEURS
I’ve always admired the gardens of antiques dealer Loi Thai. Below is an image from his former Maryland garden, which prominently features a stunning natural wood tuteur.

Wood tuteurs can be unfinished and left to age naturally (as in Loi Thai’s garden above and in the photo below left). They can also be painted in a fun color, like the chartreuse tuteur below right.
The image below features another view of the tuteurs at the Wave Hill specimen gardens. I love how the varying heights of perennial and edible plants (such as the Black Tuscan Kale) “frame” the view around the tuteur. Also note that the tuteur doesn’t have any vines growing on it – the tuteur itself is treated like a garden sculpture. Love it.

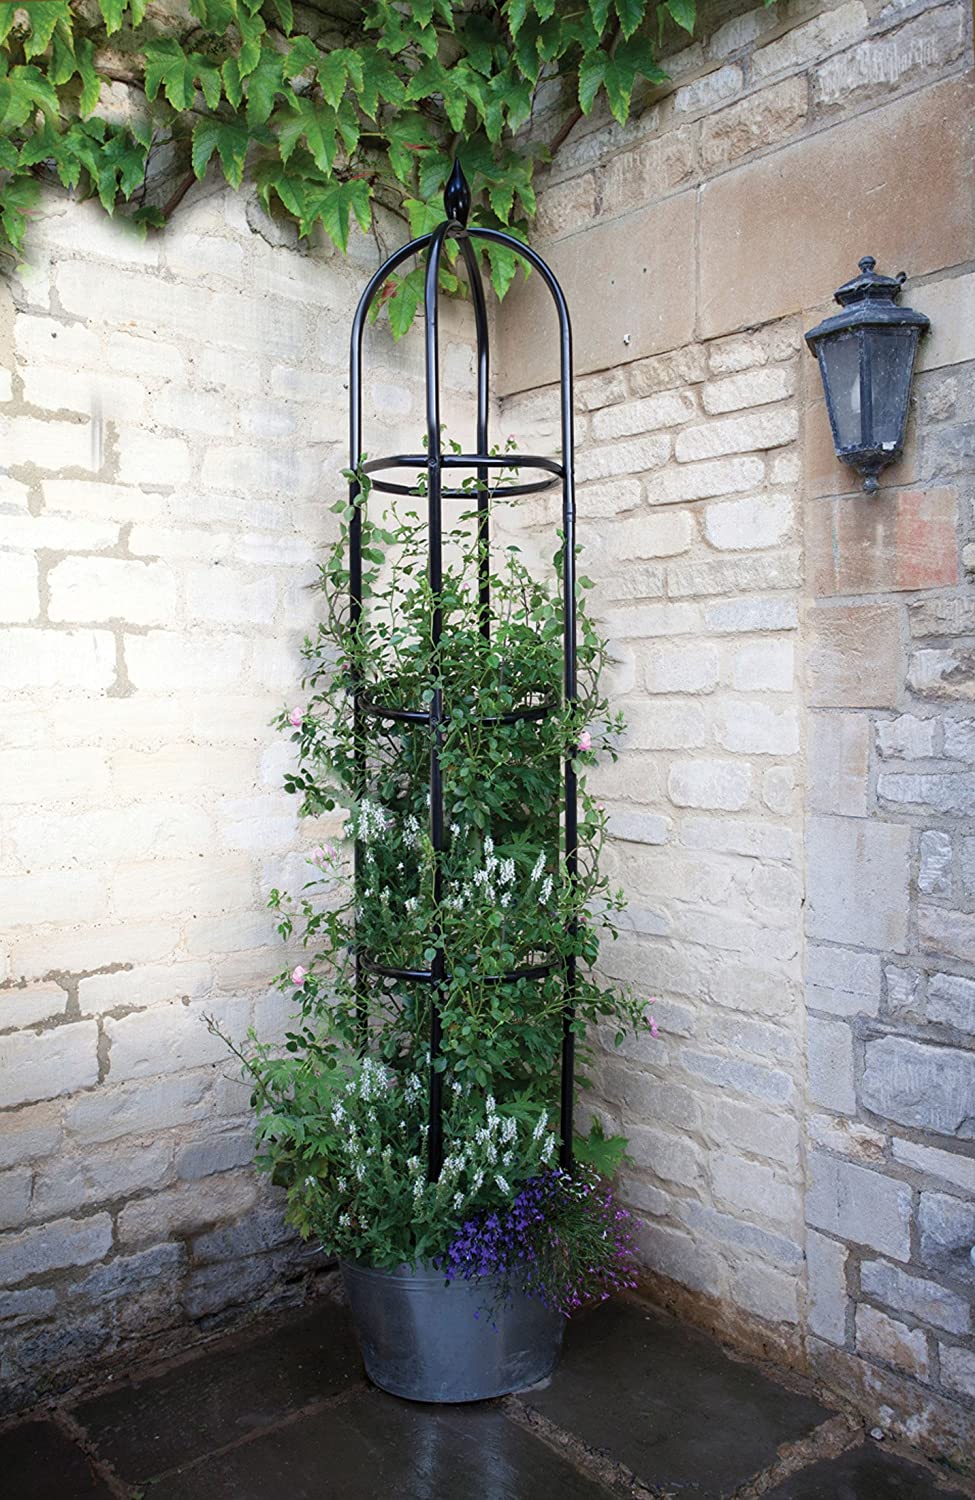
METAL TUTEURS
Metal is a practical choice for tuteurs, especially in containers. A hallmark of metal tuteurs or obelisks is the addition of an interesting finial. The metal obelisks below would look fantastic as a pair, flanking a front entry in a traditional style home, planted in a beautiful container. Links to the obelisks shown below are here and here.

My favorite example of metal tuteurs in the garden is the image below, featuring the gorgeous kitchen gardens of the inimitable Ina Garten (who is not only a best-selling cookbook author, but an incredible gardener!) I love the color of this tuteur, which looks to be custom made in copper that’s been left to weather to a verdigris patina.
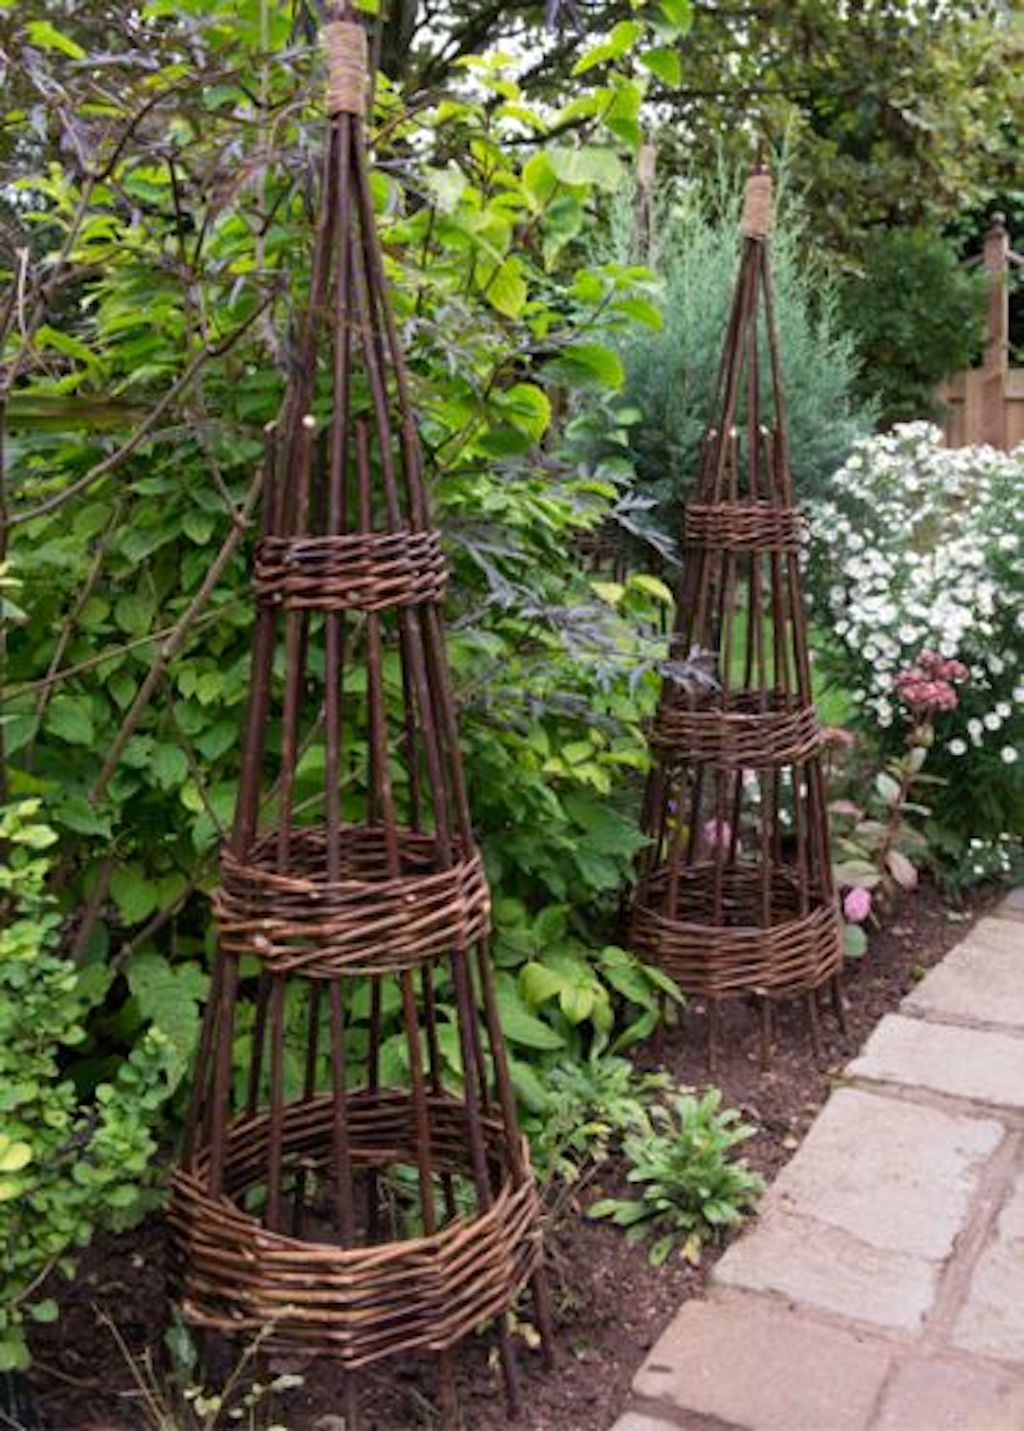
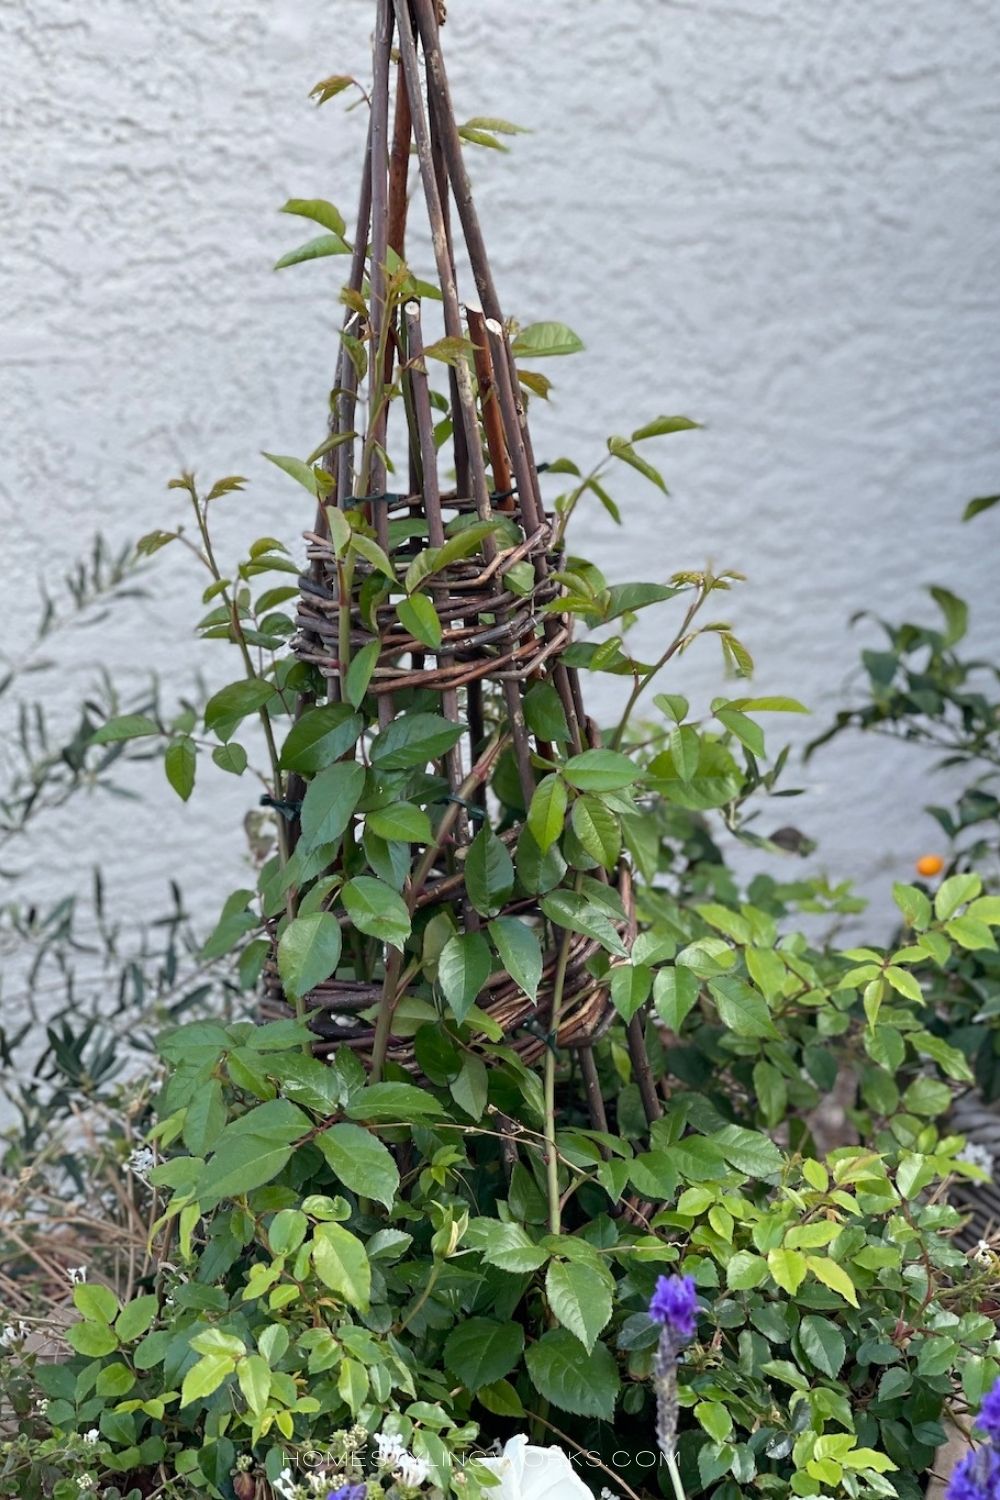
WILLOW TUTEURS
Tuteurs in a natural willow material fit right into a cottage or country garden. Below are two versions of willow tuteurs. They can either be left unadorned (photo left) or utilized to train climbing sweet pea vines (photo right).
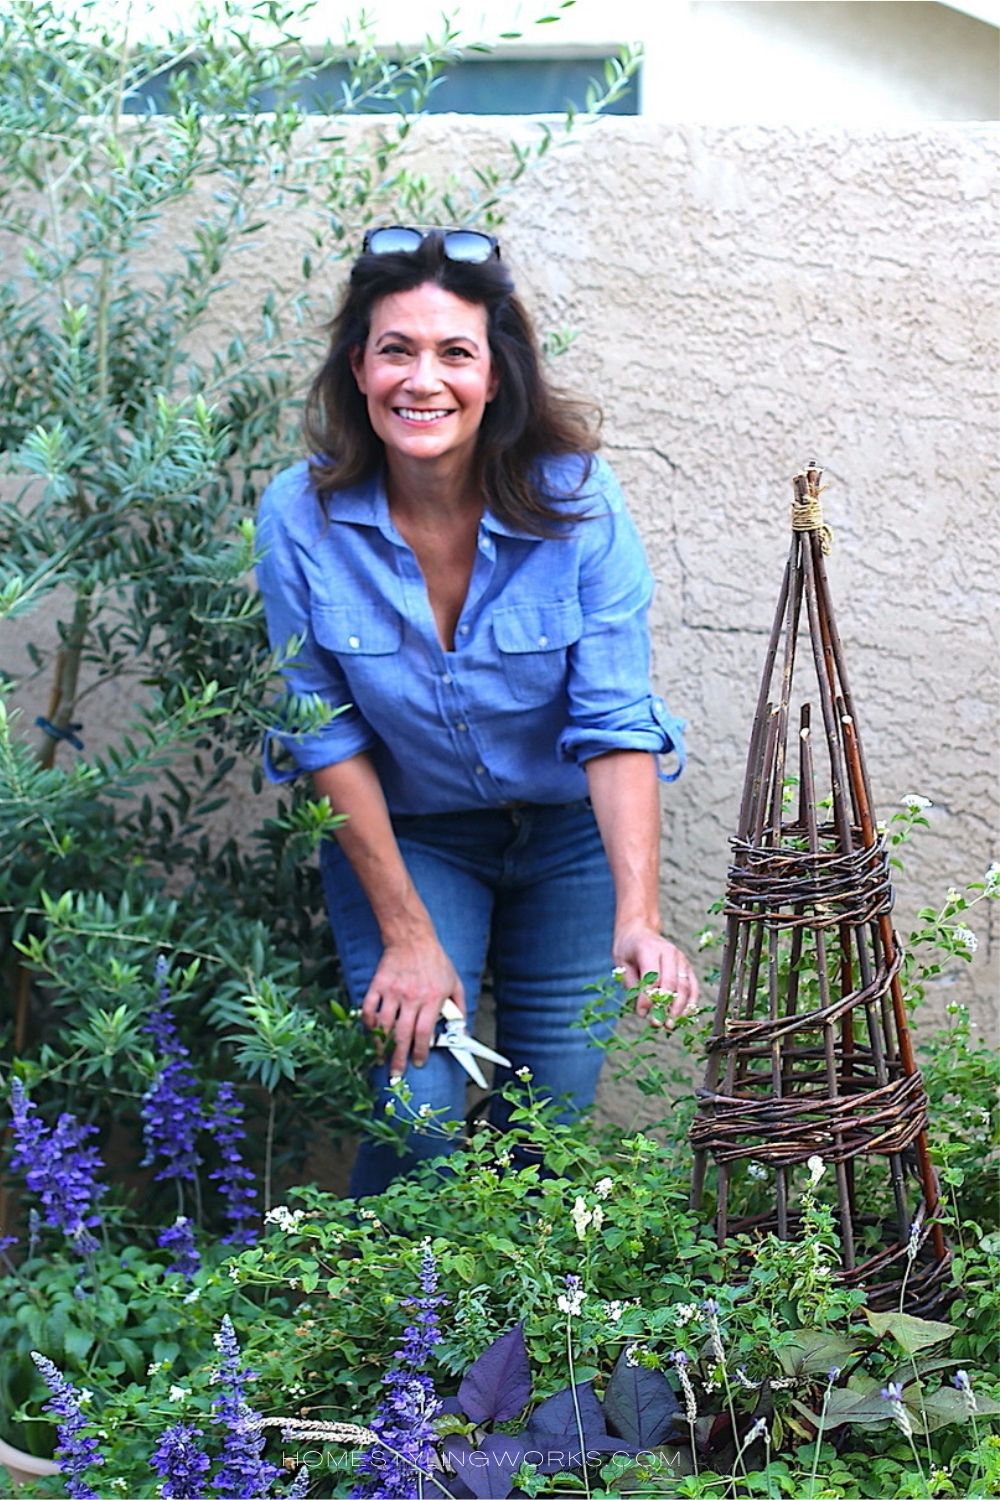
BELOW: I’m growing roses on the willow obelisk in a large container in my current garden. My goal is to not cover the obelisk completely, so some of the pretty willow detail is still visible. The climbing roses are pretty happy, so I may switch out the willow obelisk for a taller iron tuteur (the roses are growing fast and furious!) Here’s a link to a similar willow obelisk shown in my garden.

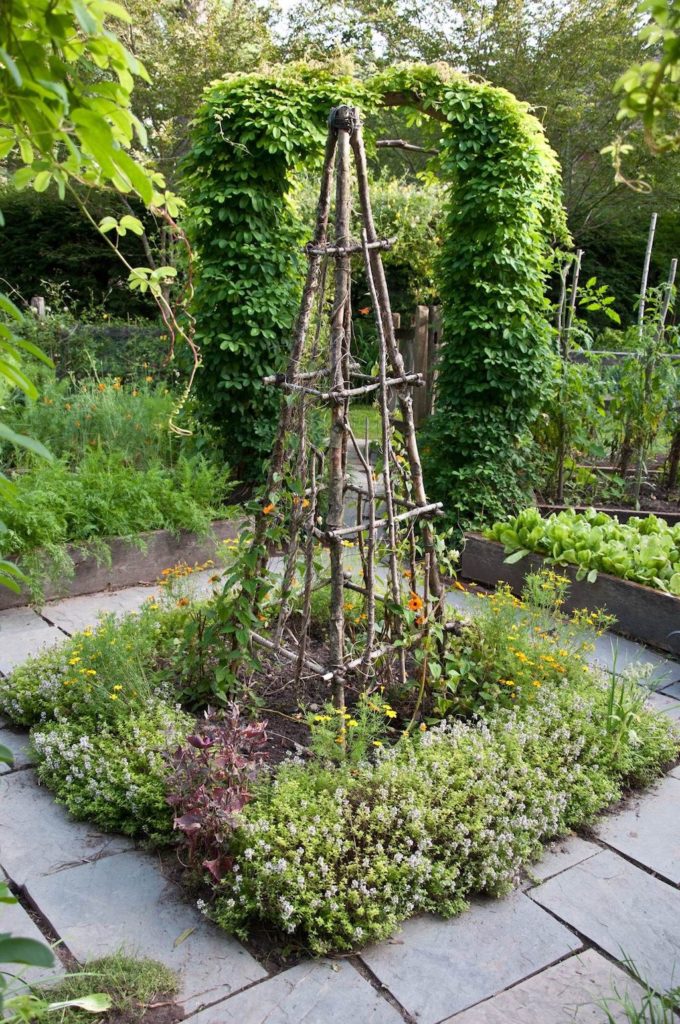
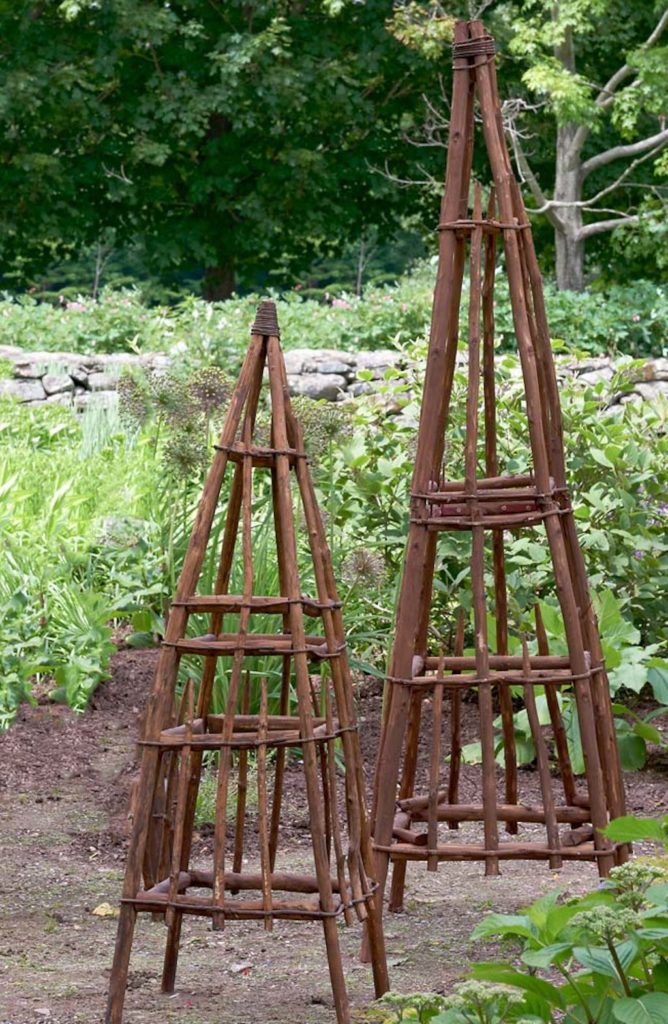
RUSTIC BRANCHES TUTUER
Tuteurs can be hand-crafted using fallen branches (there are a lot of online tutorials on how to make these). A great example is featured in the photo below left, in the Vermont gardens of noted author and master gardener Ellen Ecker Ogden. I had the opportunity to work with Ellen a few years ago when I produced a story on her gardens for Country Gardens magazine. I can attest that her gardens in person are incredible! I love the spilling thyme surrounding the obelisk, and that the structure isn’t completely covered in vines, so you can appreciate the rustic materials. The center and right images are these rustic twig tuteurs, from White Flower Farm.

TUTEUR + PLANTER COMBINATIONS
The subsequent gardens I’ve created have been a fraction of the size of my Saratoga garden, but I’ve always found a way to add verticality to my gardens – no matter the size. So far, I’ve shown how tuteurs can be planted directly in the ground, as I did in my Saratoga garden. But since I love container gardening, I’ve created a few tuteur-and-planter combinations that can be used in a variety of scenarios – from a singular garden focal point to a pair flanking a front entry.
The gallery below features 6 different styles of tuteurs, and 6 different planters. These can be used interchangeably – just pay attention to the scale and proportions.
STYLING BY NUMBERS™ TUTEUR + PLANTER COMBOS
I’m using my Styling By Numbers™ concept to show you how to scale the tuteurs and obelisks from the shopping gallery below with the proper sized containers (also shown in the shopping gallery).
But before we get into the drawings and tuteur-planter combos, let’s talk about SCALE and PROPORTION. The key to making a beautiful tuteur-planter combination is to make sure the proportions are correct. That means the size of the planter and the height of the tuteur complement each other. You don’t want the planter to be huge and the tuteur tiny (or vice-versa – you don’t want the tuteur looking like it’s going to topple over with the slightest bit of wind!)
And speaking of wind – there’s a reason why tuteurs are either planted in the ground or in a container. You don’t want them blowing into your neighbor’s yard (or, worse yet – having a porch pirate make off with your pretty tuteurs!)
SHOPPING GALLERY
I’ve assembled a variety of tuteurs, obelisks and planters in the shopping gallery below (click on images for product links).


In the Styling By Numbers™ drawings below, I’ve selected two tuteurs and two planters from the Shopping Gallery. I created these drawings as a visual guide, with measurements, so you can see the scale and proportion concept in action.
STYLE #1: “ELEGANT TRADITIONAL”
This Styling By Numbers™ tuteur-planter combo features Tuteur #4 and Planter #11 (in the large size) from the shopping gallery above.

Here’s the formula: The HEIGHT of the tuteur should be 2.5 to 3 times taller than the height of the planter. A 2.5-3 to 1 ratio. In the drawing above, the Beauclaire Planter is 27″ high. Multiplied by 2.5 = 67.5″ high. The #4 tuteur is 74″ high. If you factor in burying the stakes in the soil a few inches, that would make the height of the tuteur about 66-67″ high. Perfect. Now, you can go a little taller, but I wouldn’t recommend any higher than a 3:1 ratio. That would mean your tuteur shouldn’t be any higher than 81″ overall.
STYLE #2: “MODERN FARMHOUSE”
This tuteur-planter combo features Tuteur #5 and Planter #12 from the shopping gallery above.

Now, the formula isn’t completely set in stone, and it’s not a perfect science. For example, Tuteur #5 in the drawing above is 61″ high overall – so with a few inches buried, the tuteur-height-to-planter-height ratio comes in a 3:1. That still works. You’ll know. If it looks right, it IS right.
PLANTS THAT LOVE TO CLIMB
The next part is fun! You get to design some beautiful container gardens, with the tuteur as the “superstar”.
But first, keep in mind that not all climbing vines are suitable for tuteurs (especially in containers). For example, climbing hydrangea and wisteria vines are heavy and need much more support than a tuteur can offer. Check with your local nursery for plants designated for your particular zones. To get you started, here are a few of my favorite climbing vines for tuteurs:
FULL SUN PLANTS:
Flowering Jasmine: This white-flowering plant has an intoxicating fragrance that would be wonderful next to an entry.
White Moonflower: An easy-to-grow annual, white moonflower has the added bonus of blooming at night. This would be beautiful planted as the centerpiece of a garden you enjoy in the evening. It also looks great surrounded by sun-loving silver foliage plants such as Dusty Miller or Lamb’s Ears.
Blue Moonflower: The blue counterpart to the white moonflower, this is super easy to grow and the color is a real showstopper.
Sweet Peas: A very fragrant plant that comes in a beautiful rainbow of colors – sweet peas are the epitome of cottage garden plants. I’m also a fan of dark-colored flowering plants, and the ‘Black Knight’ deep burgundy sweet pea would look fantastic with the “Modern Farmhouse” tuteur-planter combo.
PART SHADE PLANTS:
Flowering Clematis: This is a perennial, so you cut the vines back to about 6″ after the last frost, and they come back every year. Clematis comes in a variety of colors — from deep pink to tie-dye purple, and of course, white. I love the “Pink Mink” variety in the link. Clematis like their roots in the shade and the flowers in the sun.
SHADE PLANTS:
English Ivy (‘hedera helix”): Very “English garden” looking and classic. Outdoors, this plant thrives in shade. Rex Begonias, with their gorgeous foliage, would be a nice companion plant around the perimeter of the container.
TUTEUR + PLANTER ‘IN SITU’
I’m finishing up the post with an image I sketched that shows a pair of tuteurs in planters flanking a front door. As you can see, this would be an elegant and timeless focal point for a traditional entry.

Thanks so much for stopping by, and I hope this post has inspired you to incorporate tuteurs and planters in your garden to Make Your Every Day More Beautiful®.